Create Cameos for CNC & 3D Printing
Introduction
I’ve been having a hard time finding resources on making cameos and relief artwork with free 3d software. I don’t have that much 3D design skill aside from CAD, so learning organic modelling in a new software like zbrush didn’t sound like a lot of fun. My interest came from wanting designs to put on 3D printed coins.
The Process
Here’s a quick rundown of the process:
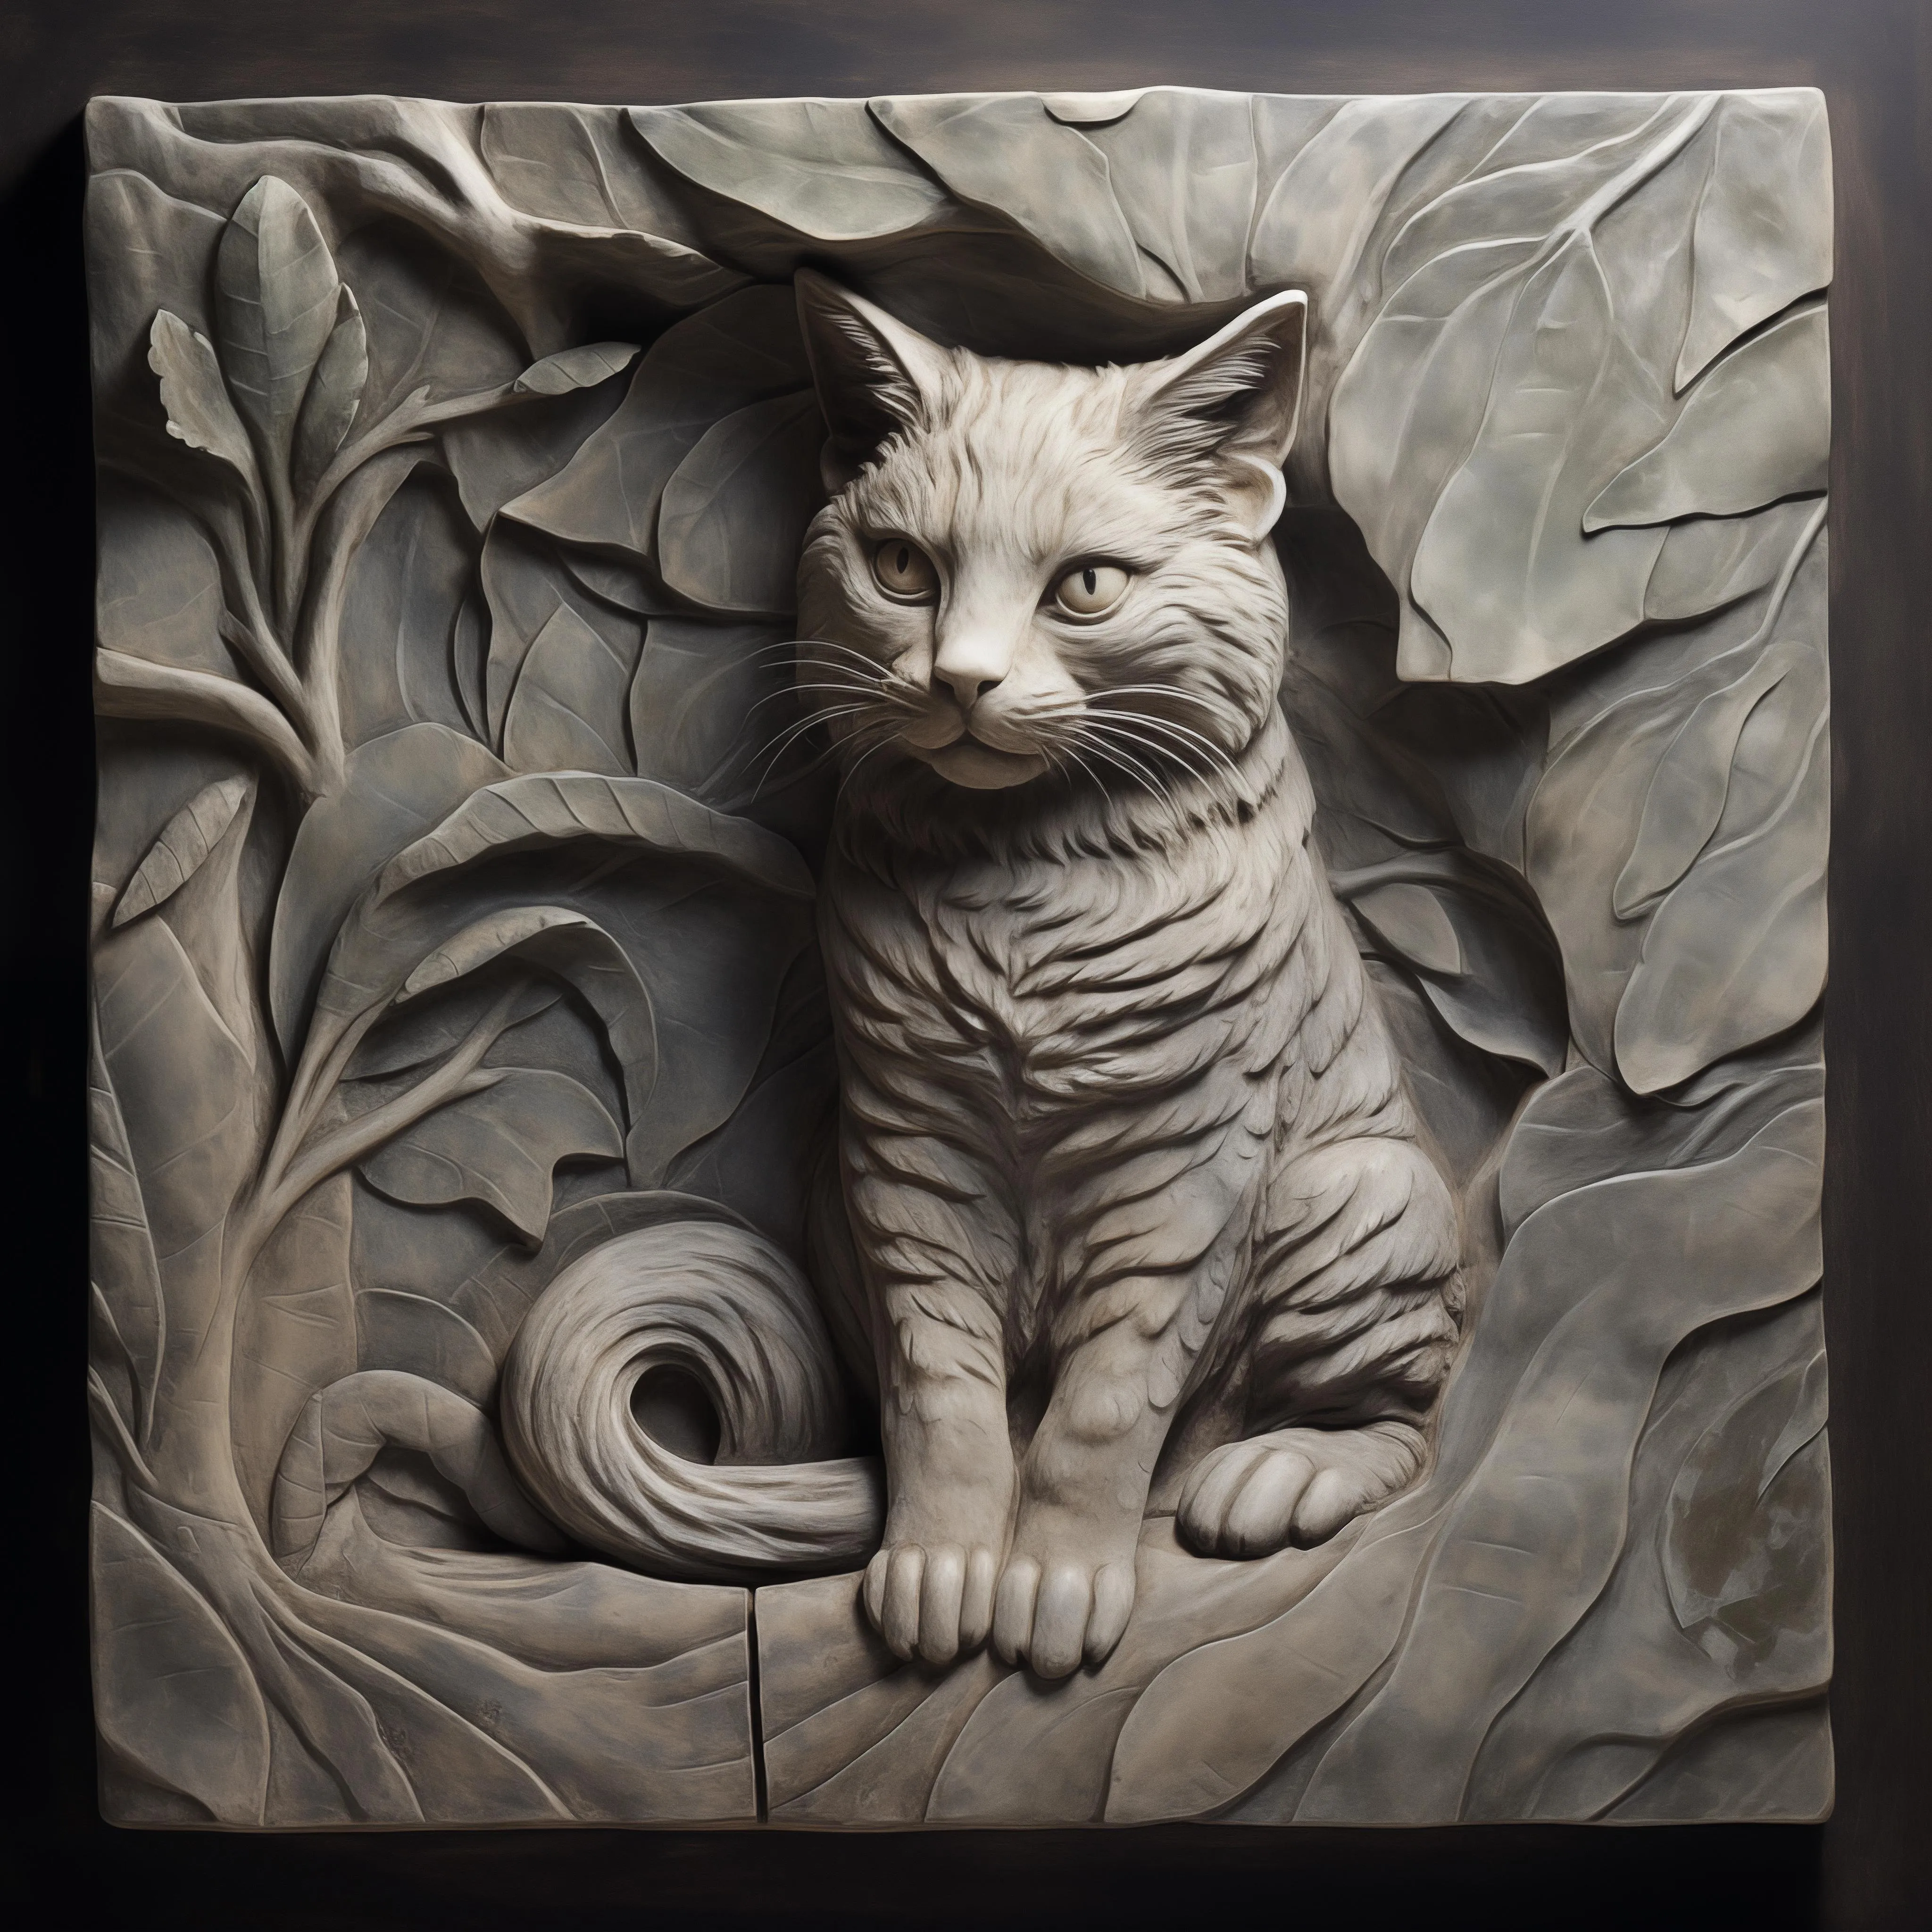
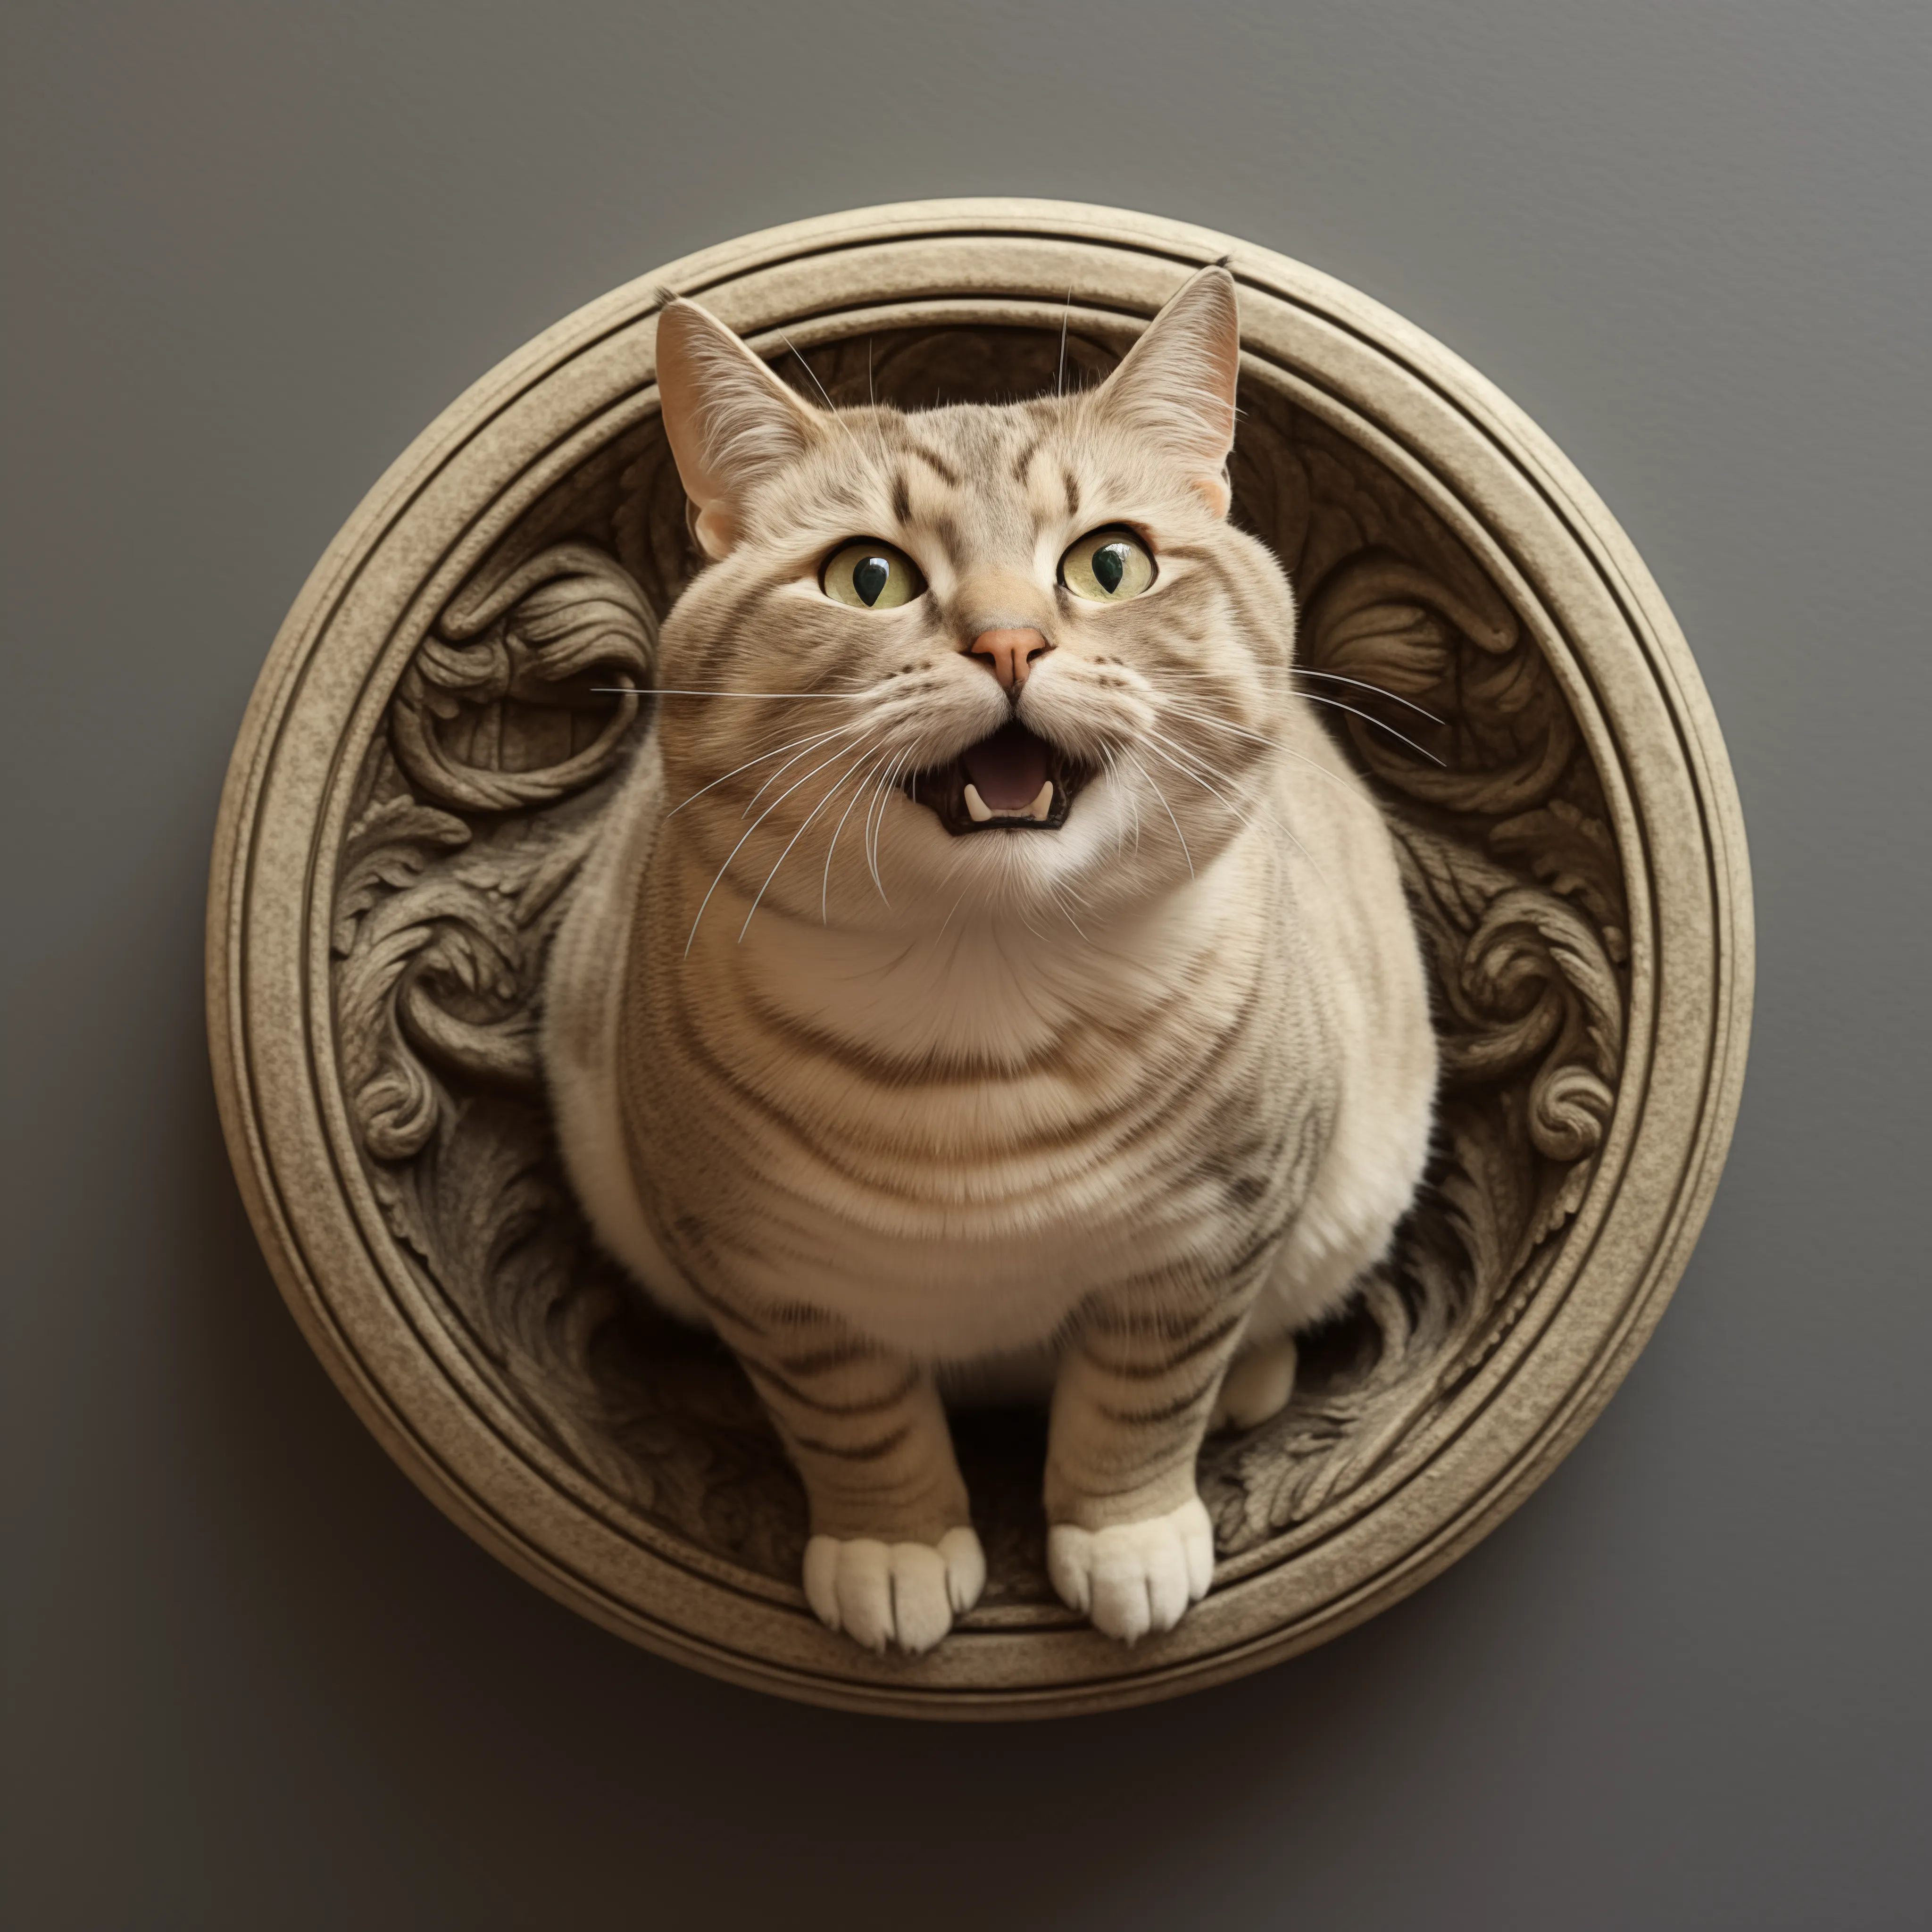
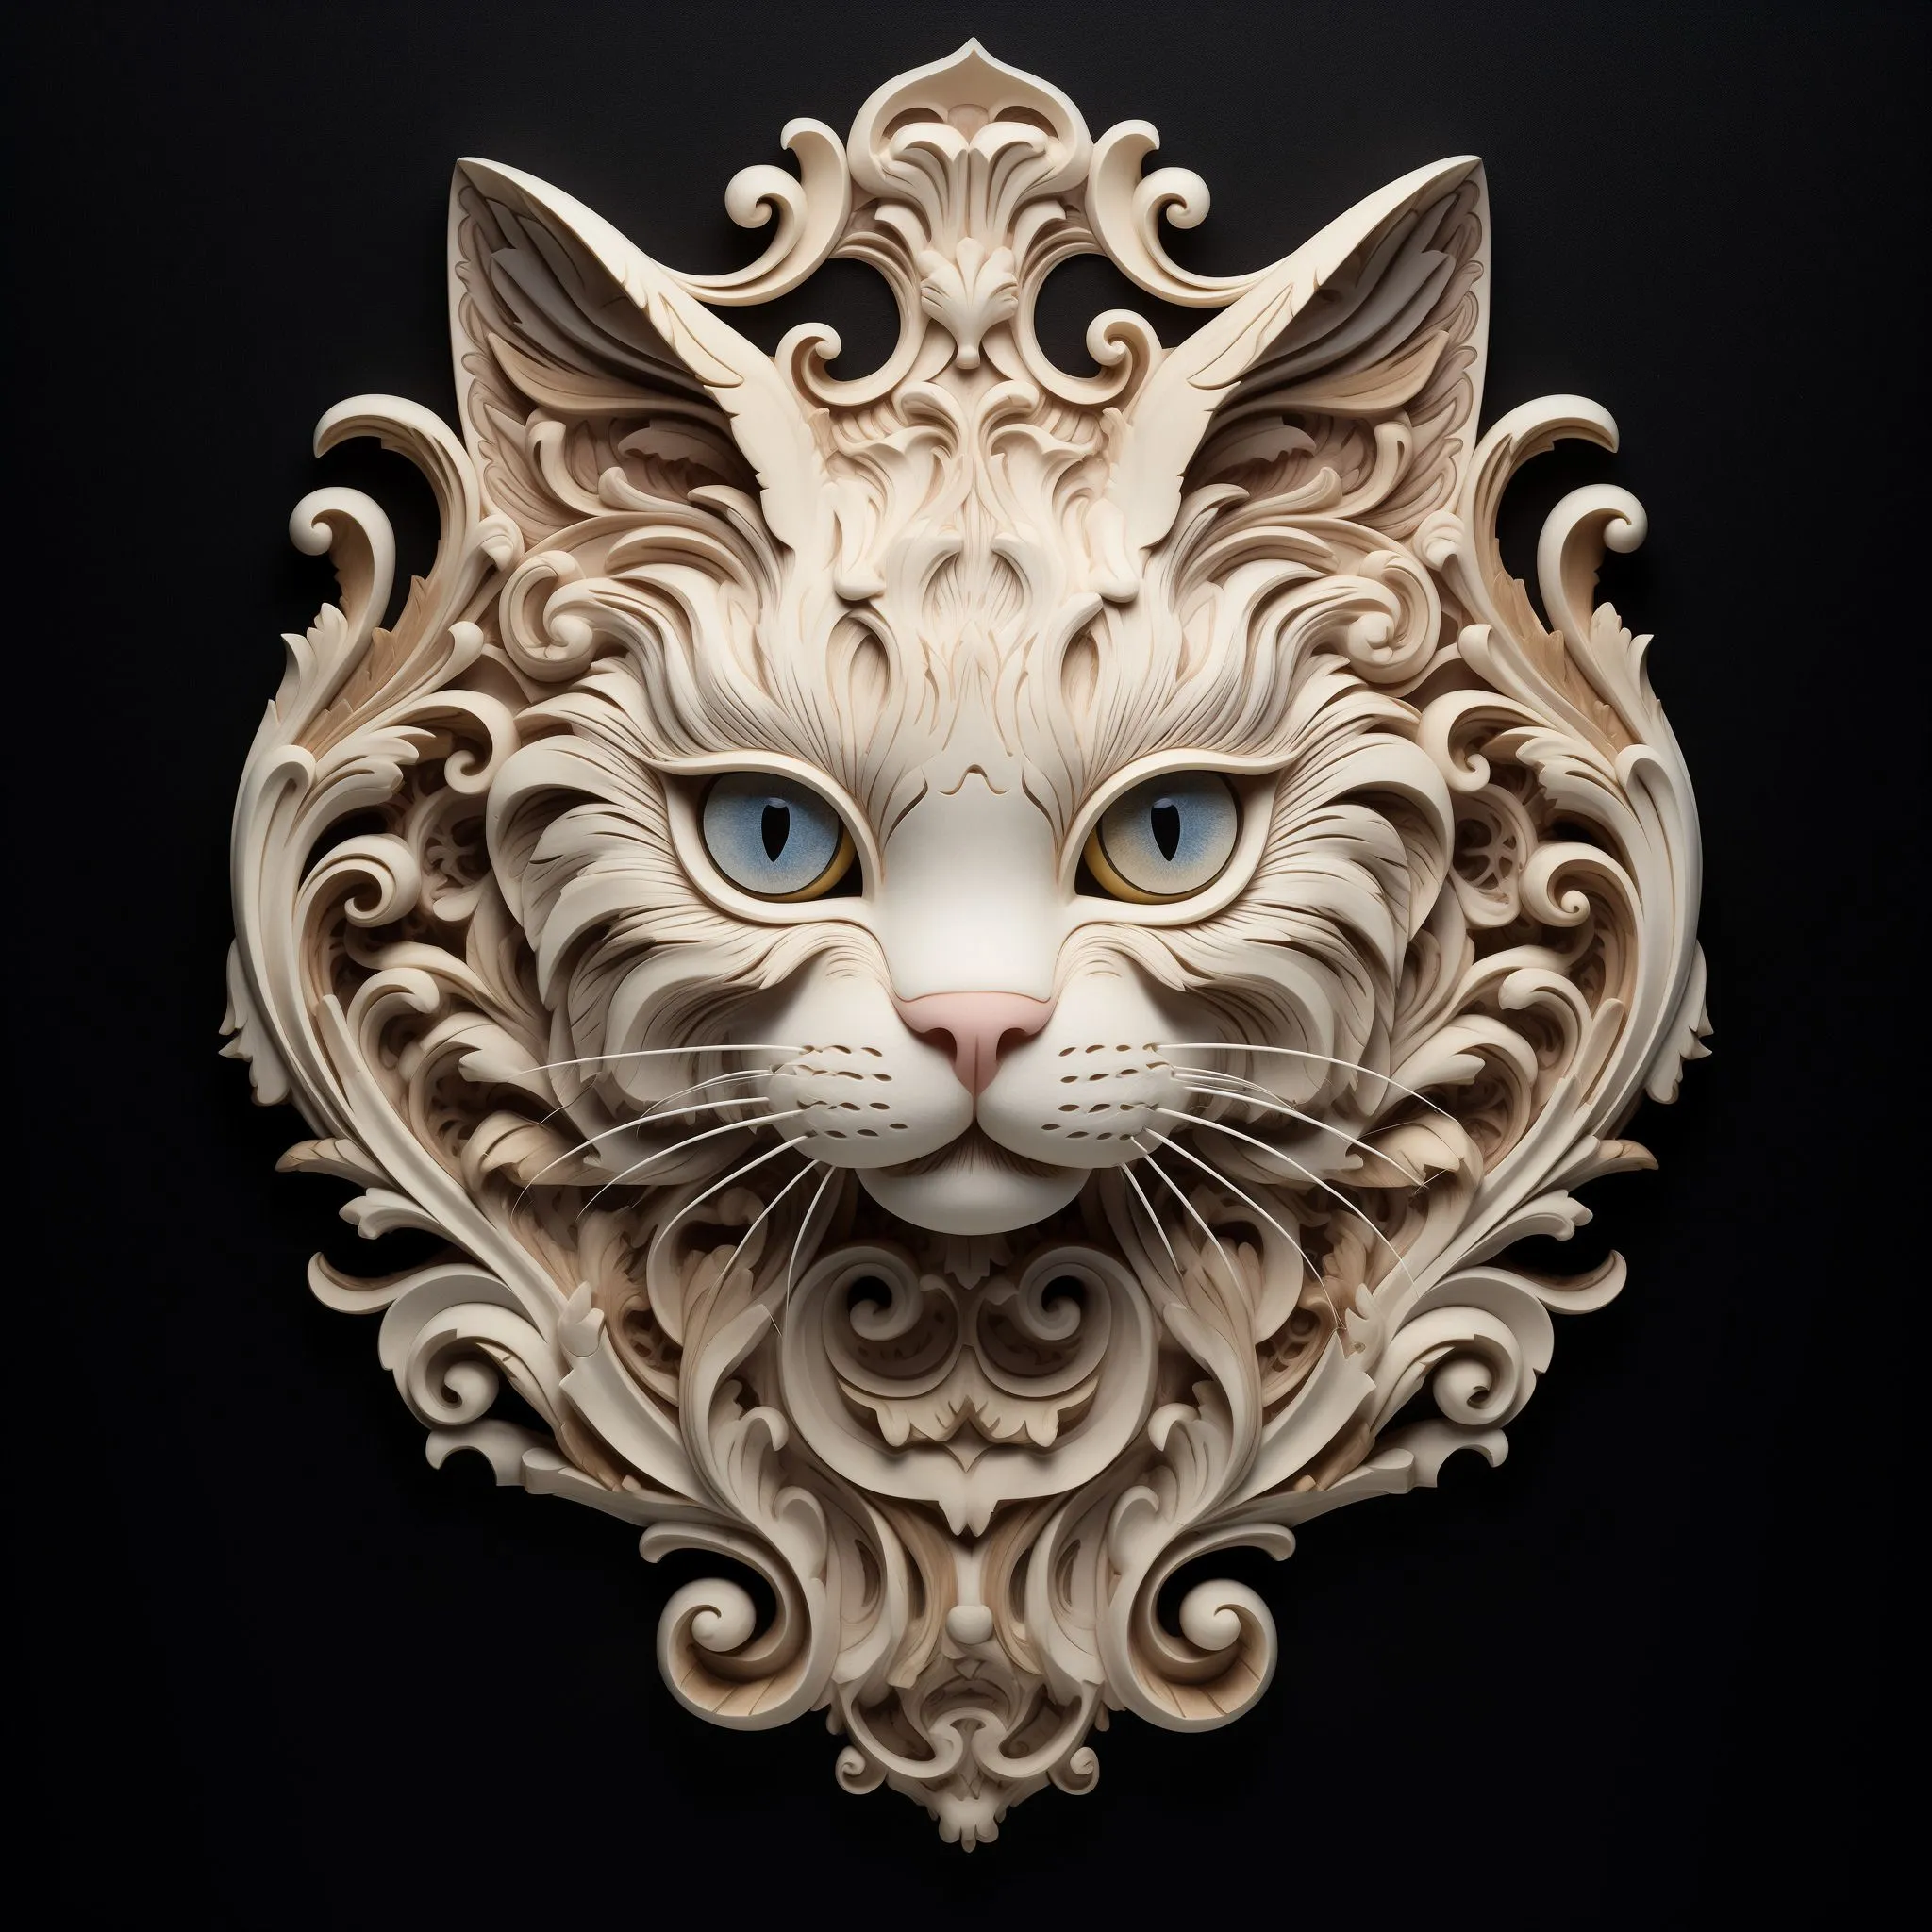
- Generate an image using Midjourney
- Convert the image into a high quality depth map using Tiled ZoeDepth
- Convert the depth map to a 3D model using Blender
- Clean up the model in Meshmixer
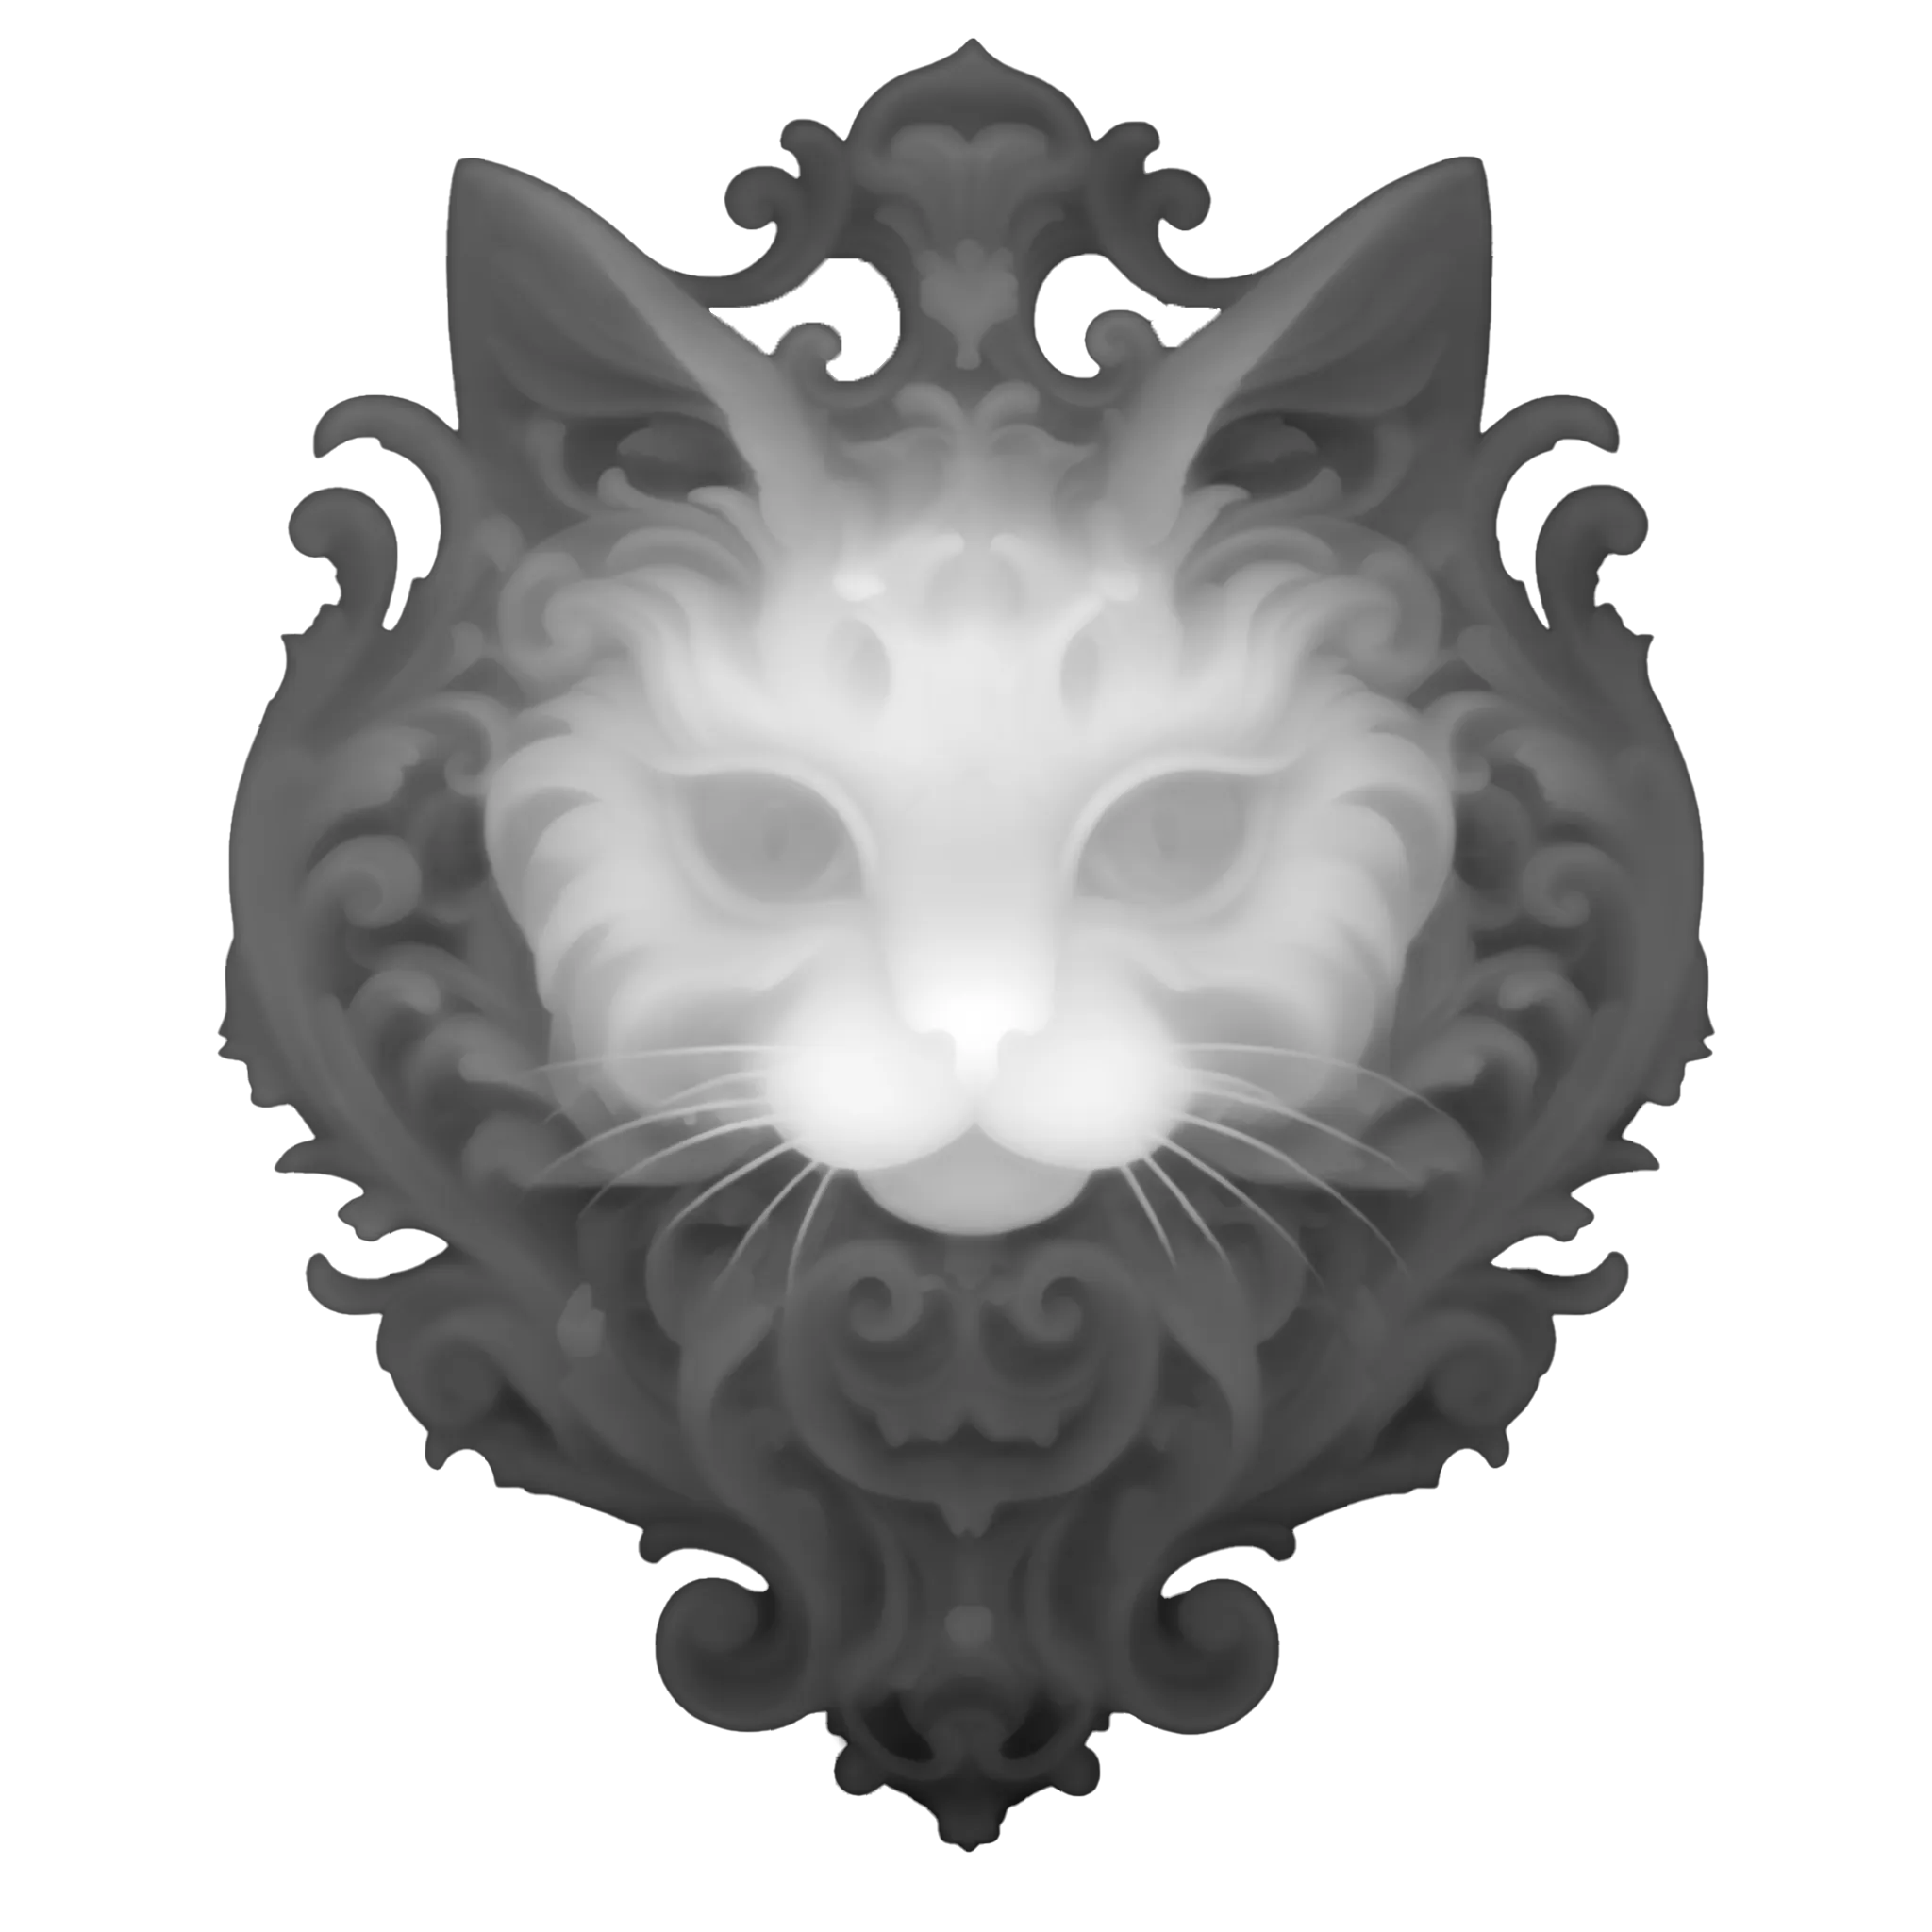
Generate an image
Use the keywords “bas relief” and “cameo” in Midjourney for predictable results in the depth map. For more sensitive pieces I did have to use Stable Diffusion to get around content policy violations. Stable Diffusion is pretty garbage at making bas reliefs of specific things on its own, but luckily there was an SDXL LoRA for bas reliefs (as well as more anatomically correct humans 😉).

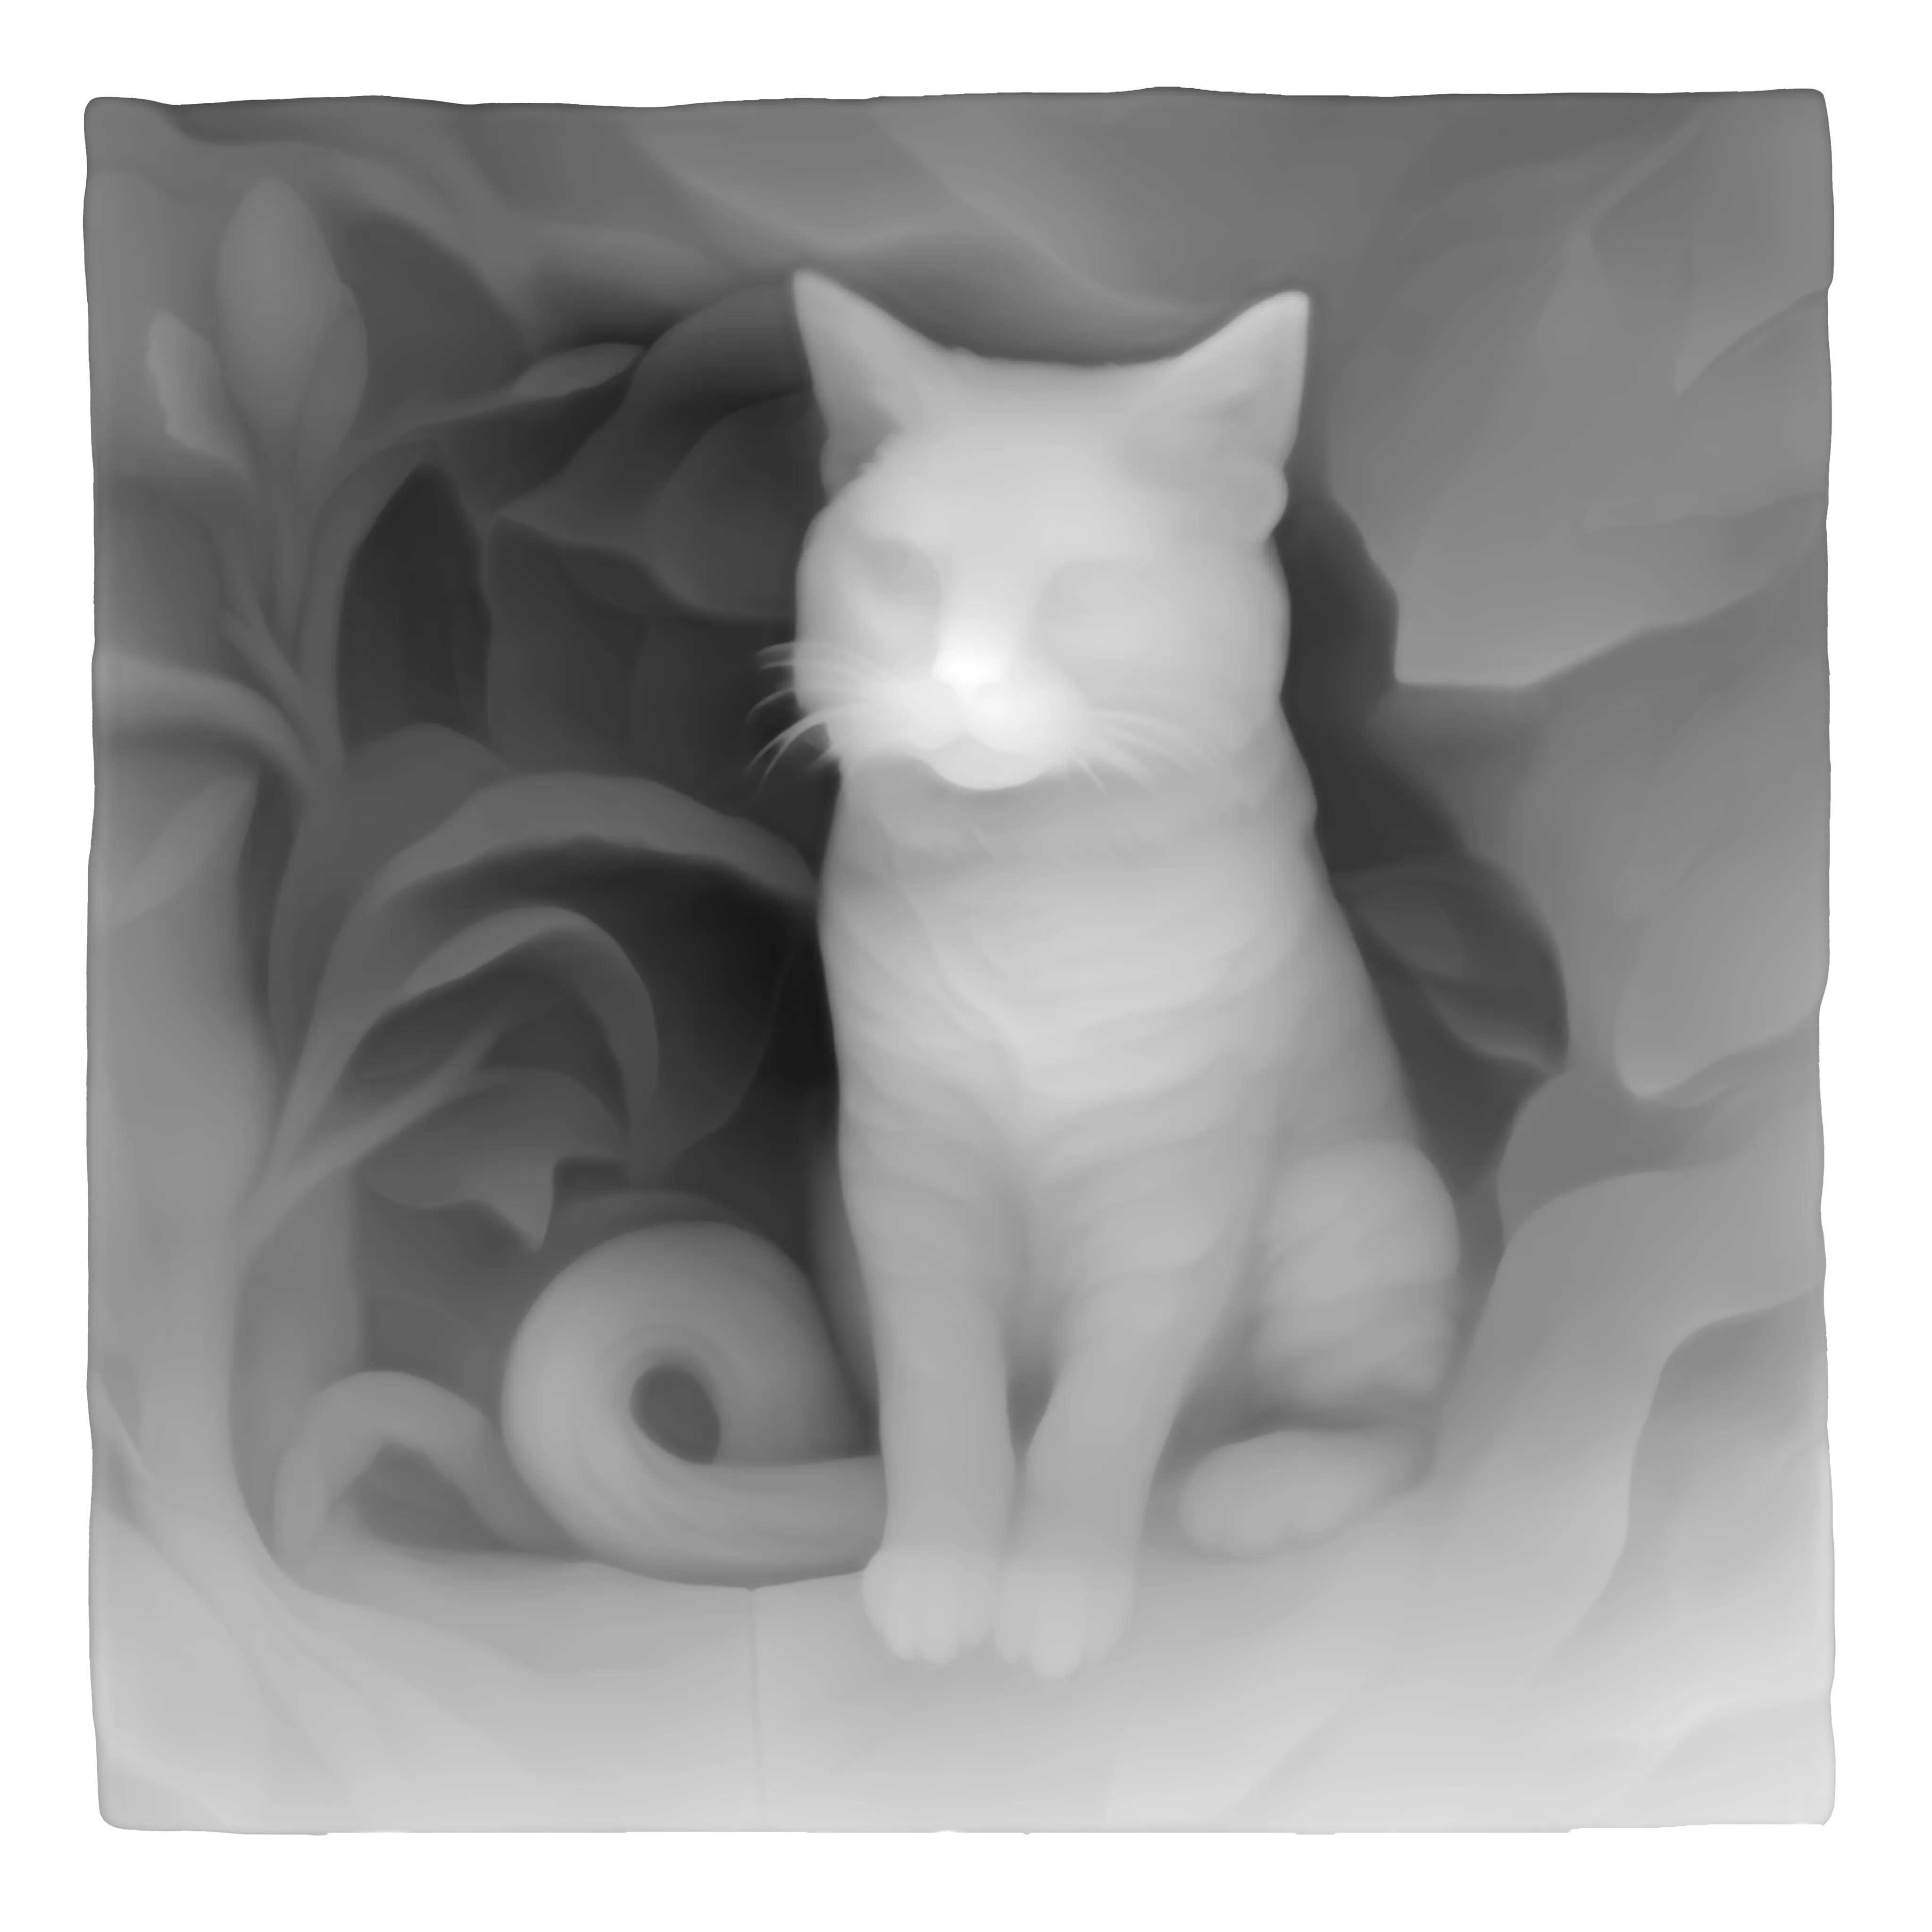
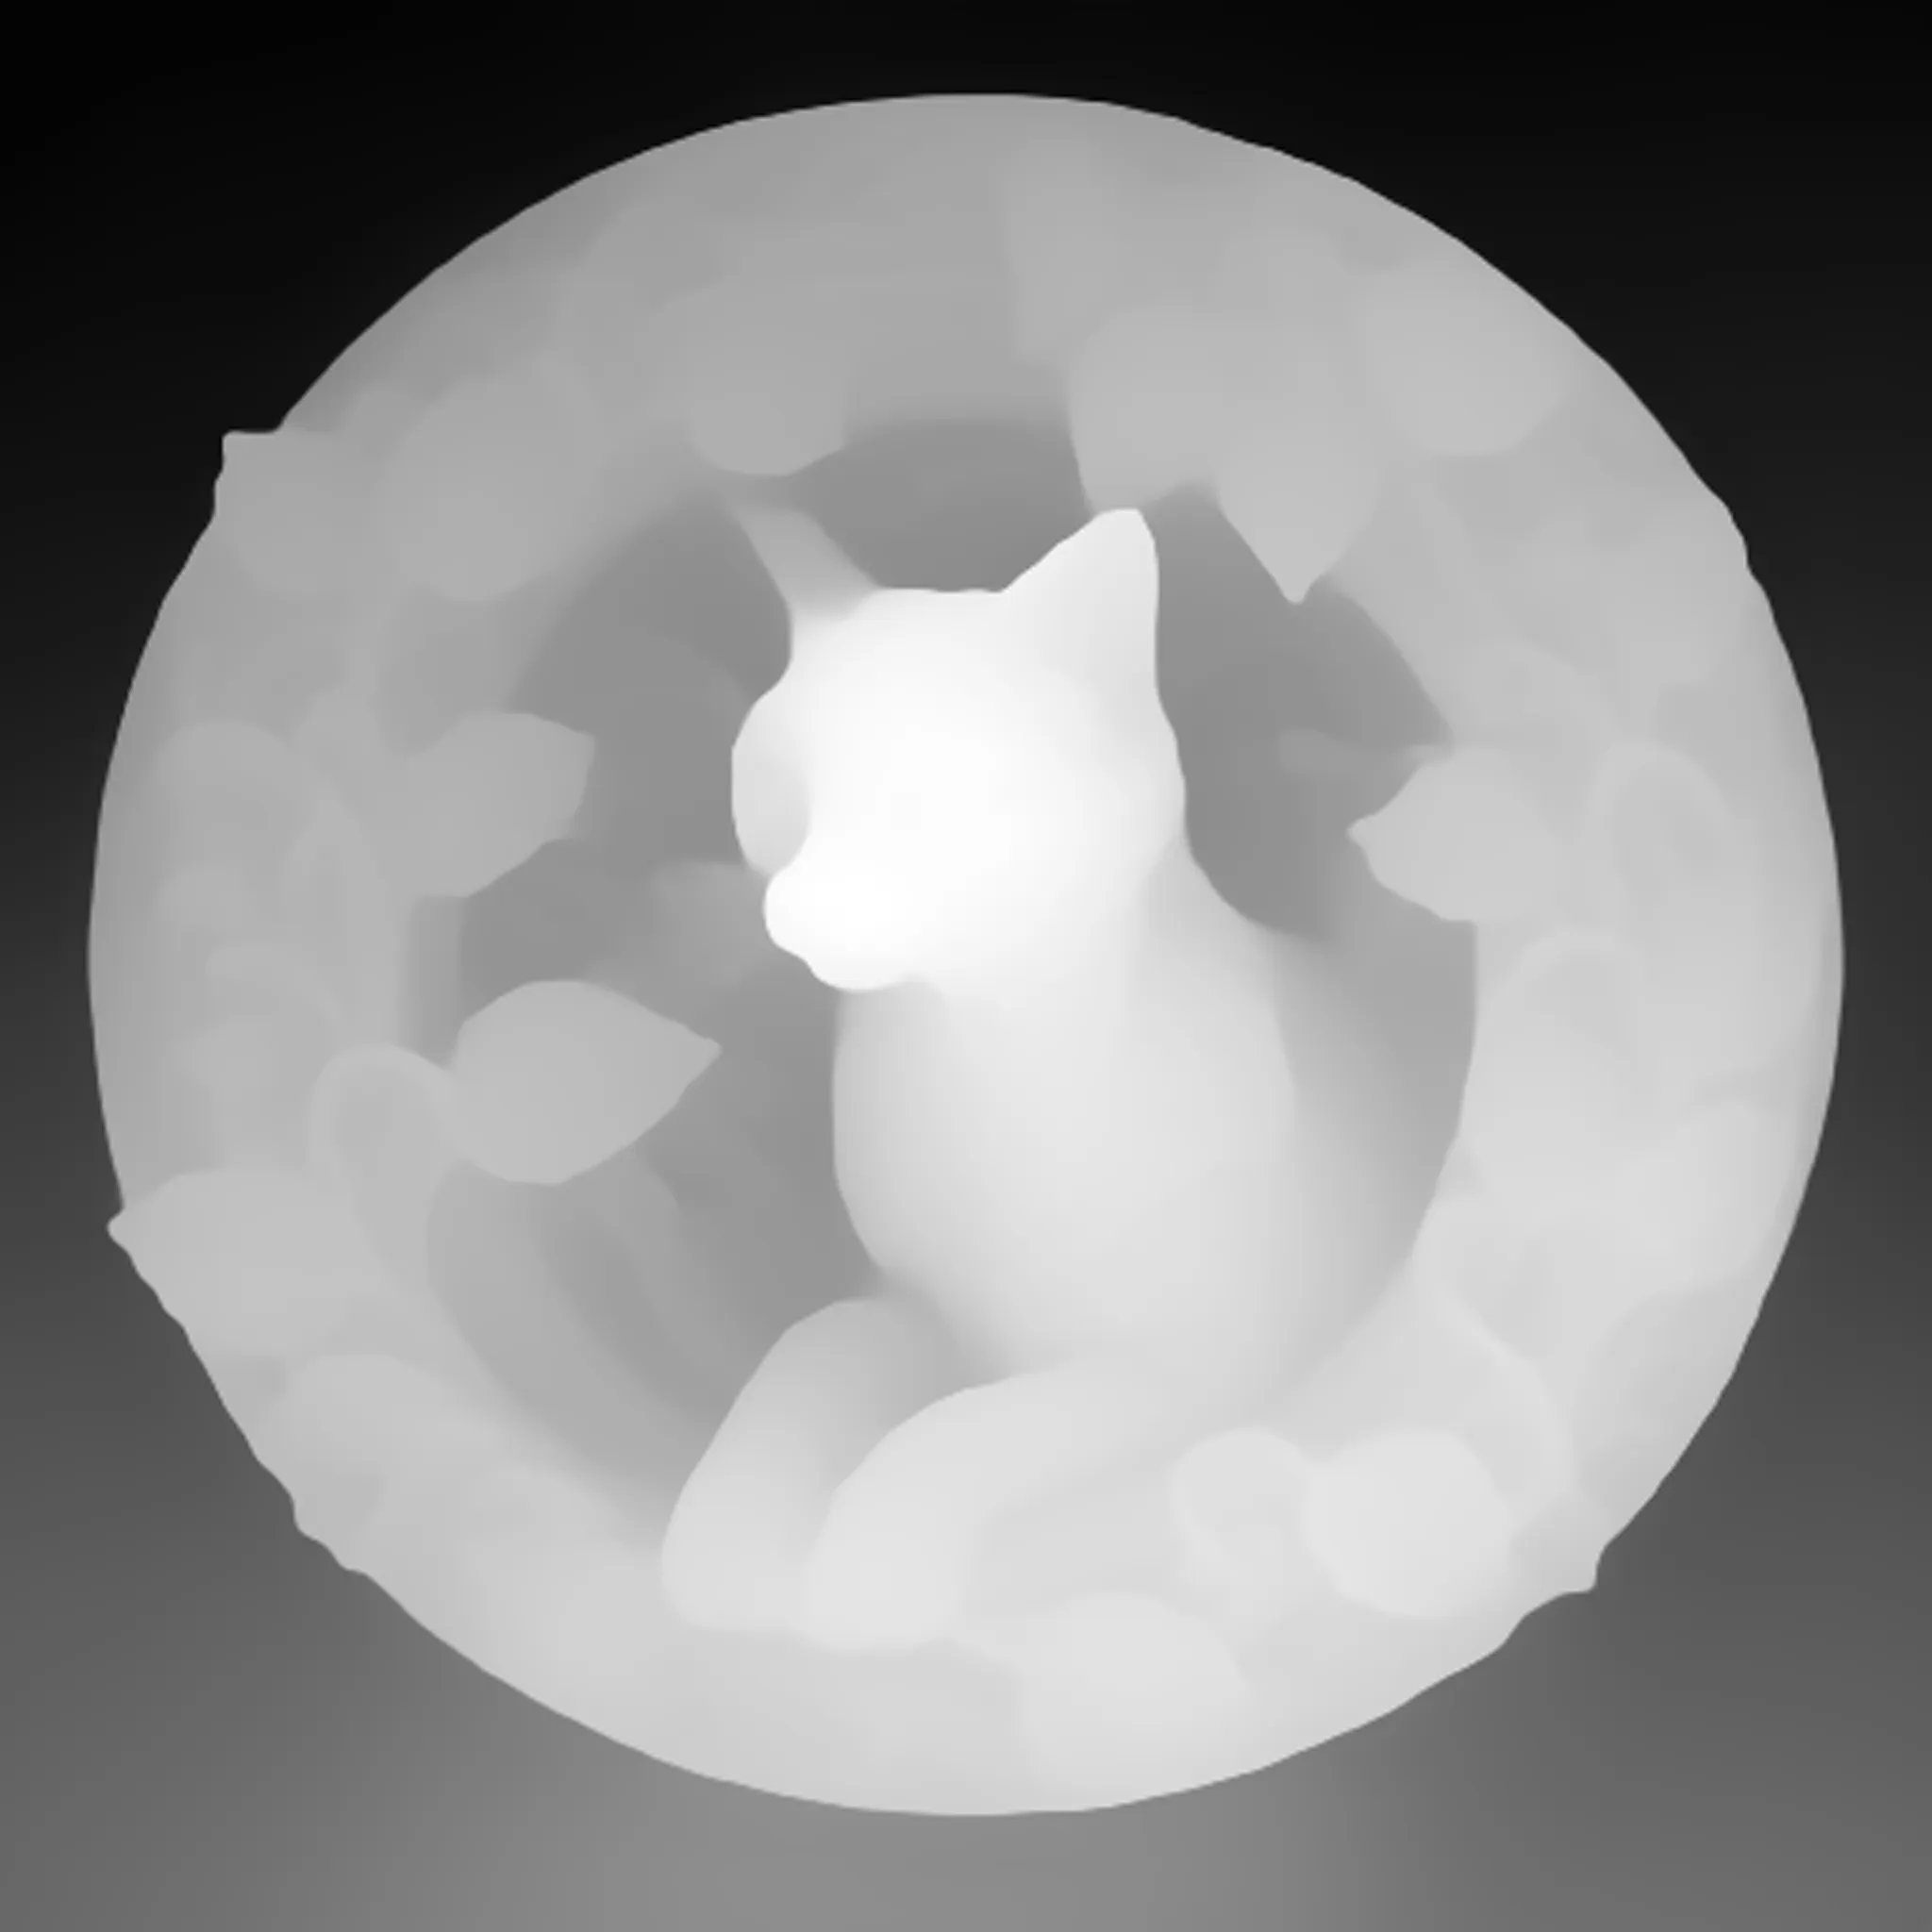
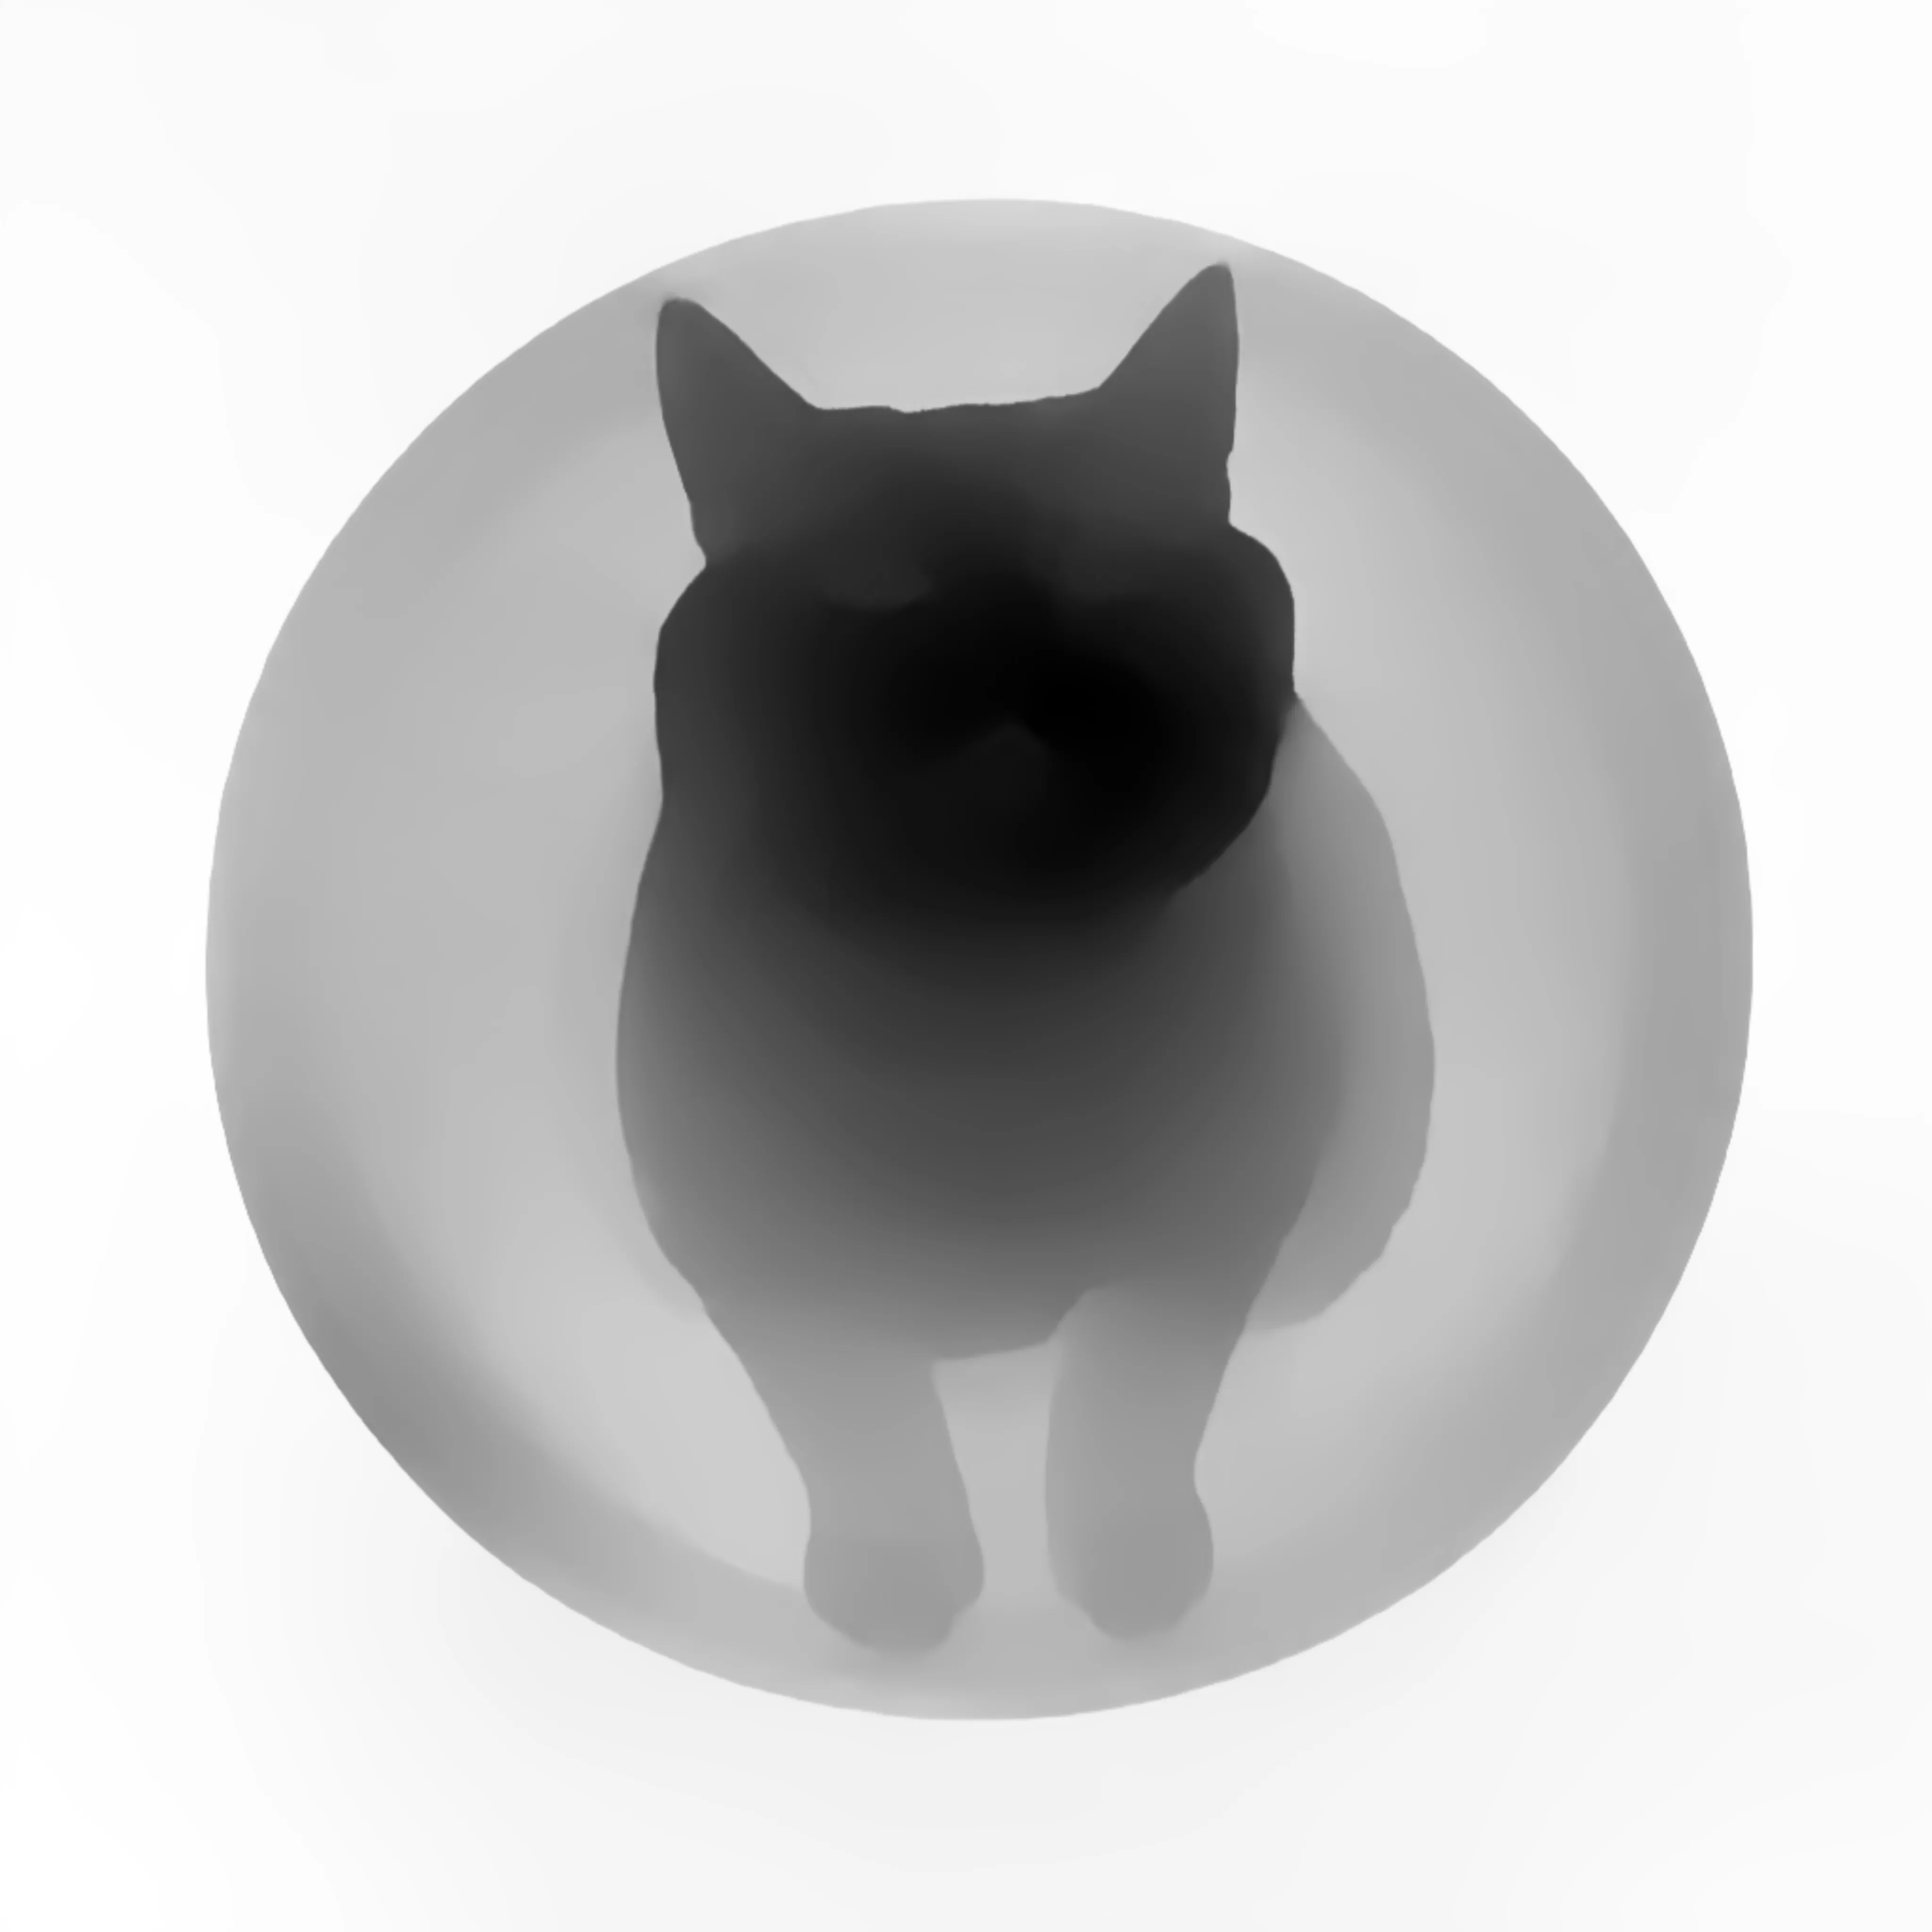
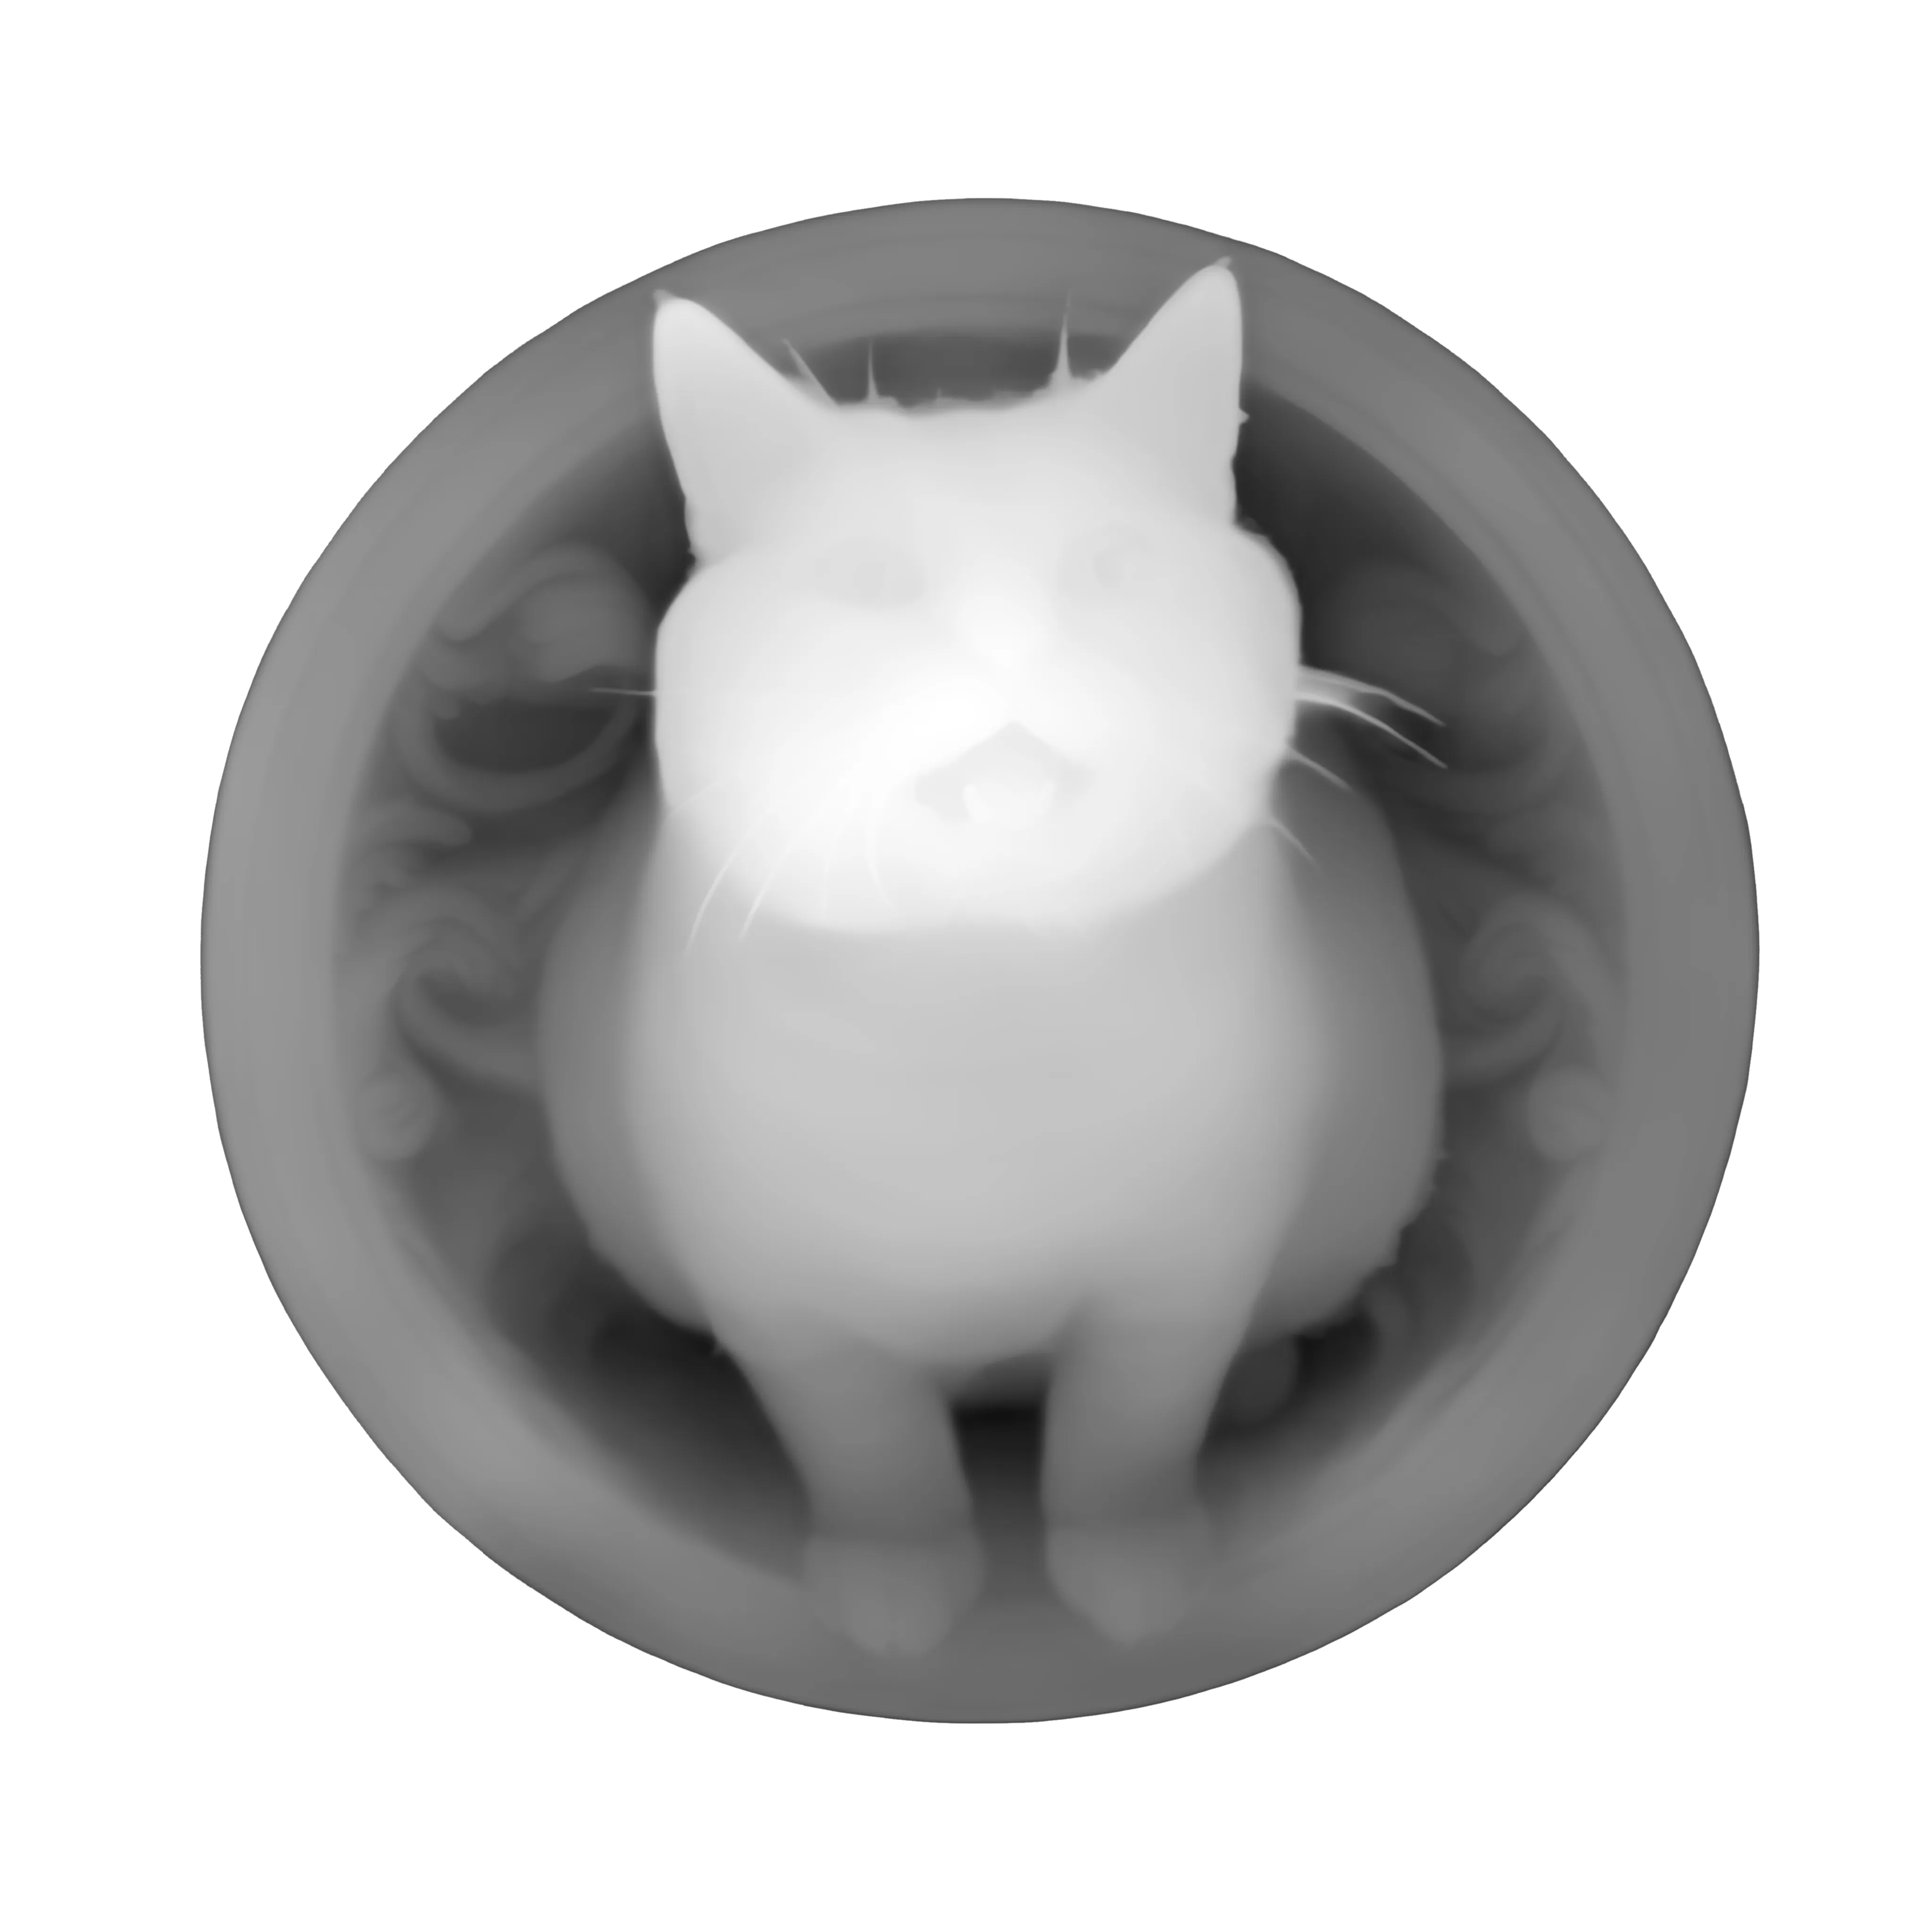
Generate a depth map
You can use an AI tool like MiDaS or Photoshop’s neural filters, but the quality isn’t granular enough for our purpose. We essentially need to split up our image into a bunch of smaller pieces, run them all through the depth map generator, and stitch them all back together. Luckily, someone on Reddit has already created a Google Colab notebook for this purpose exactly. You can find it here: https://github.com/BillFSmith/TilingZoeDepth
The process took about 15 minutes in total for me, and I suggest you upload a few images at once. At this point you can remove the background using Photoshop or an online tool.
Here you can see the difference between using a standard “neural” depth map generation (Photoshop Beta, left) and the tiled method (Tiled ZoeDepth, right):
Create 3D model
In Blender, we will project our depth map onto a plane using modifiers.
- Add a new plane to the scene
- Subdivide it 10 times and apply
- Use the deform>displace modifier and use the depth map as the texture
- Scale the model in the Z until it looks right
- Enter edit mode, select by non-manifold geometry, and extrude down in the Z
- Fill the bottom
- Exit edit mode and save as STL
Clean up the model
Bring the model into Meshmixer and use the plane cut tool or generate face groups to isolate your cameo. If you are having issues making a plane cut that doesn’t intersect the actual design, then I have found it helpful to remove the background of the depth map and/or adjust the levels in Photoshop.
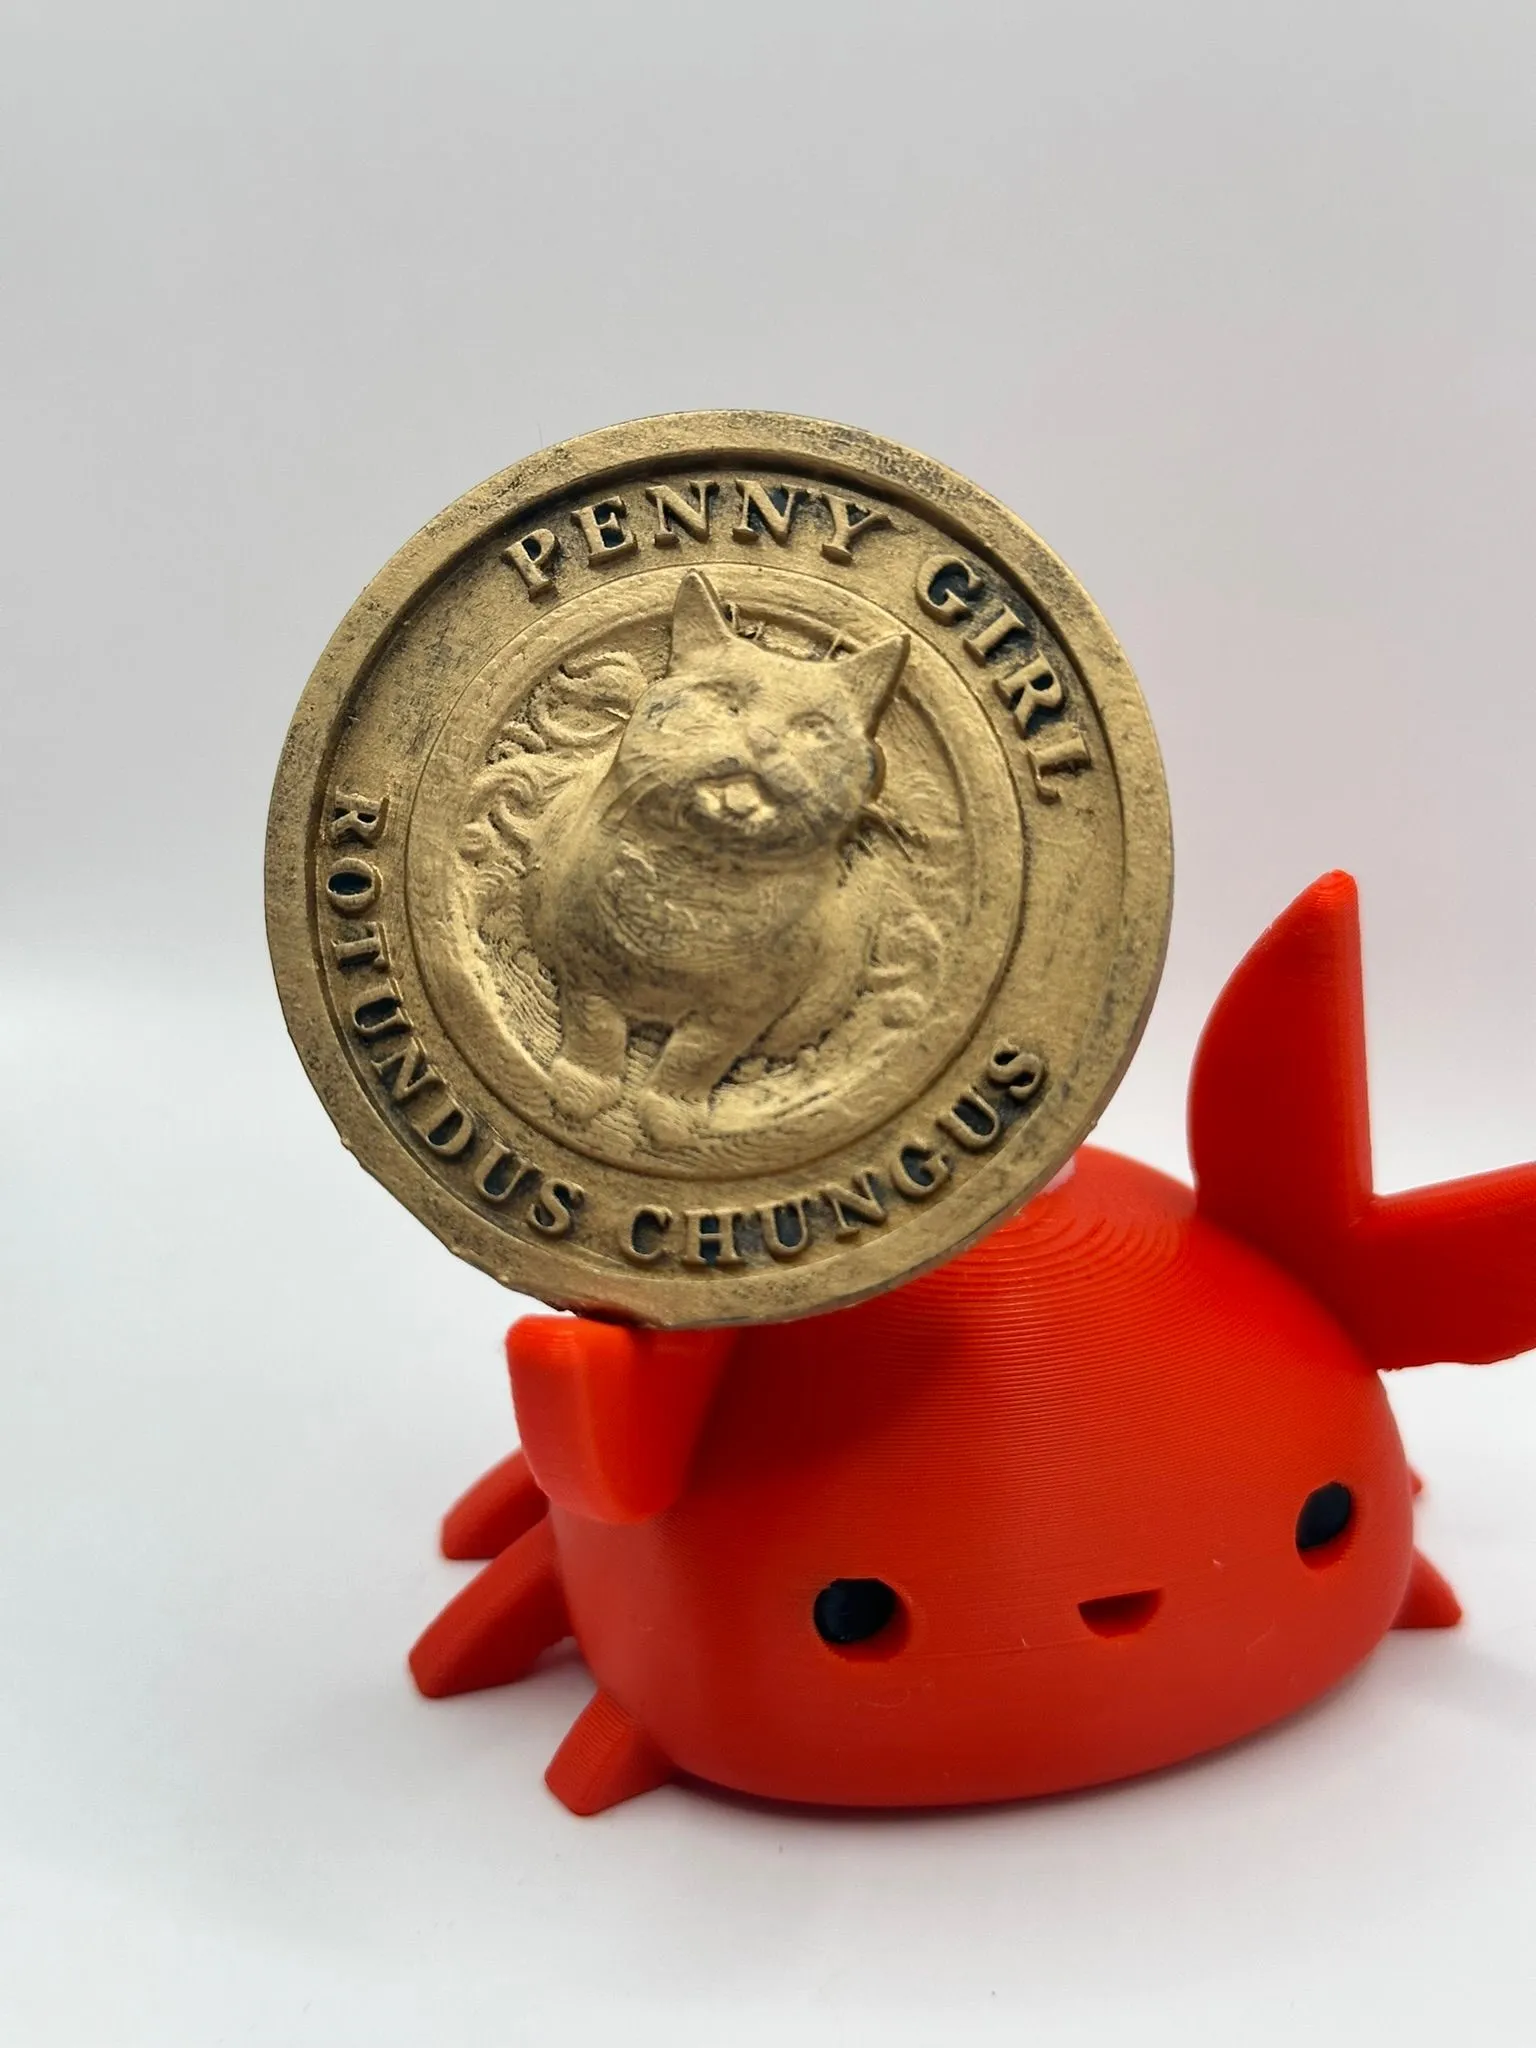
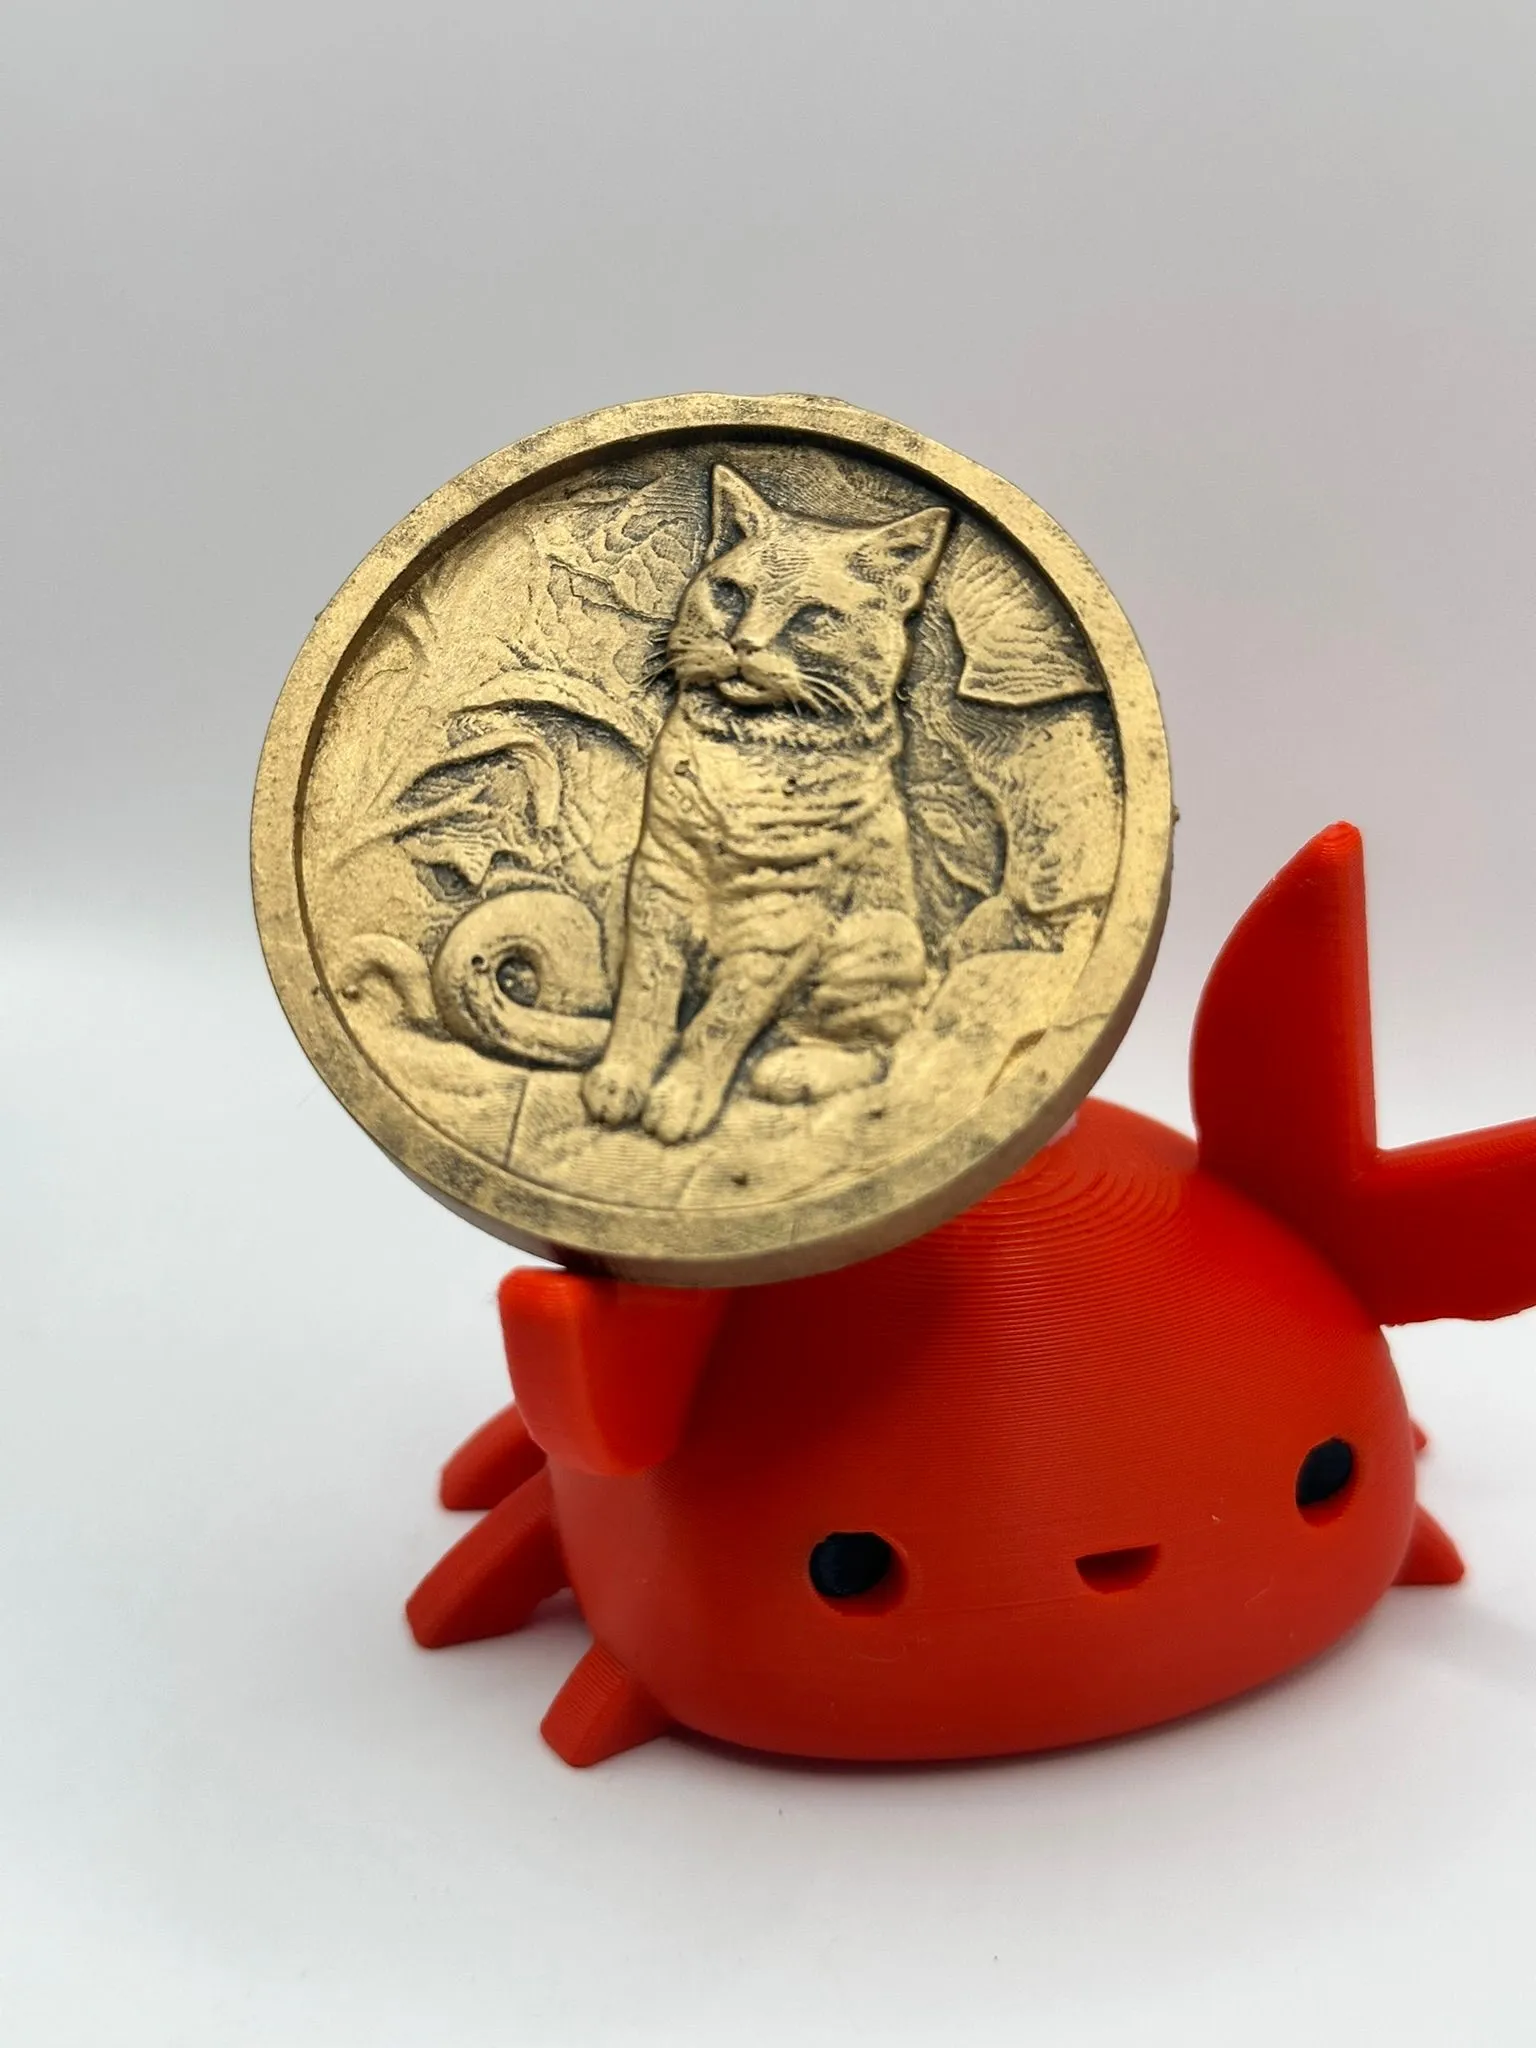
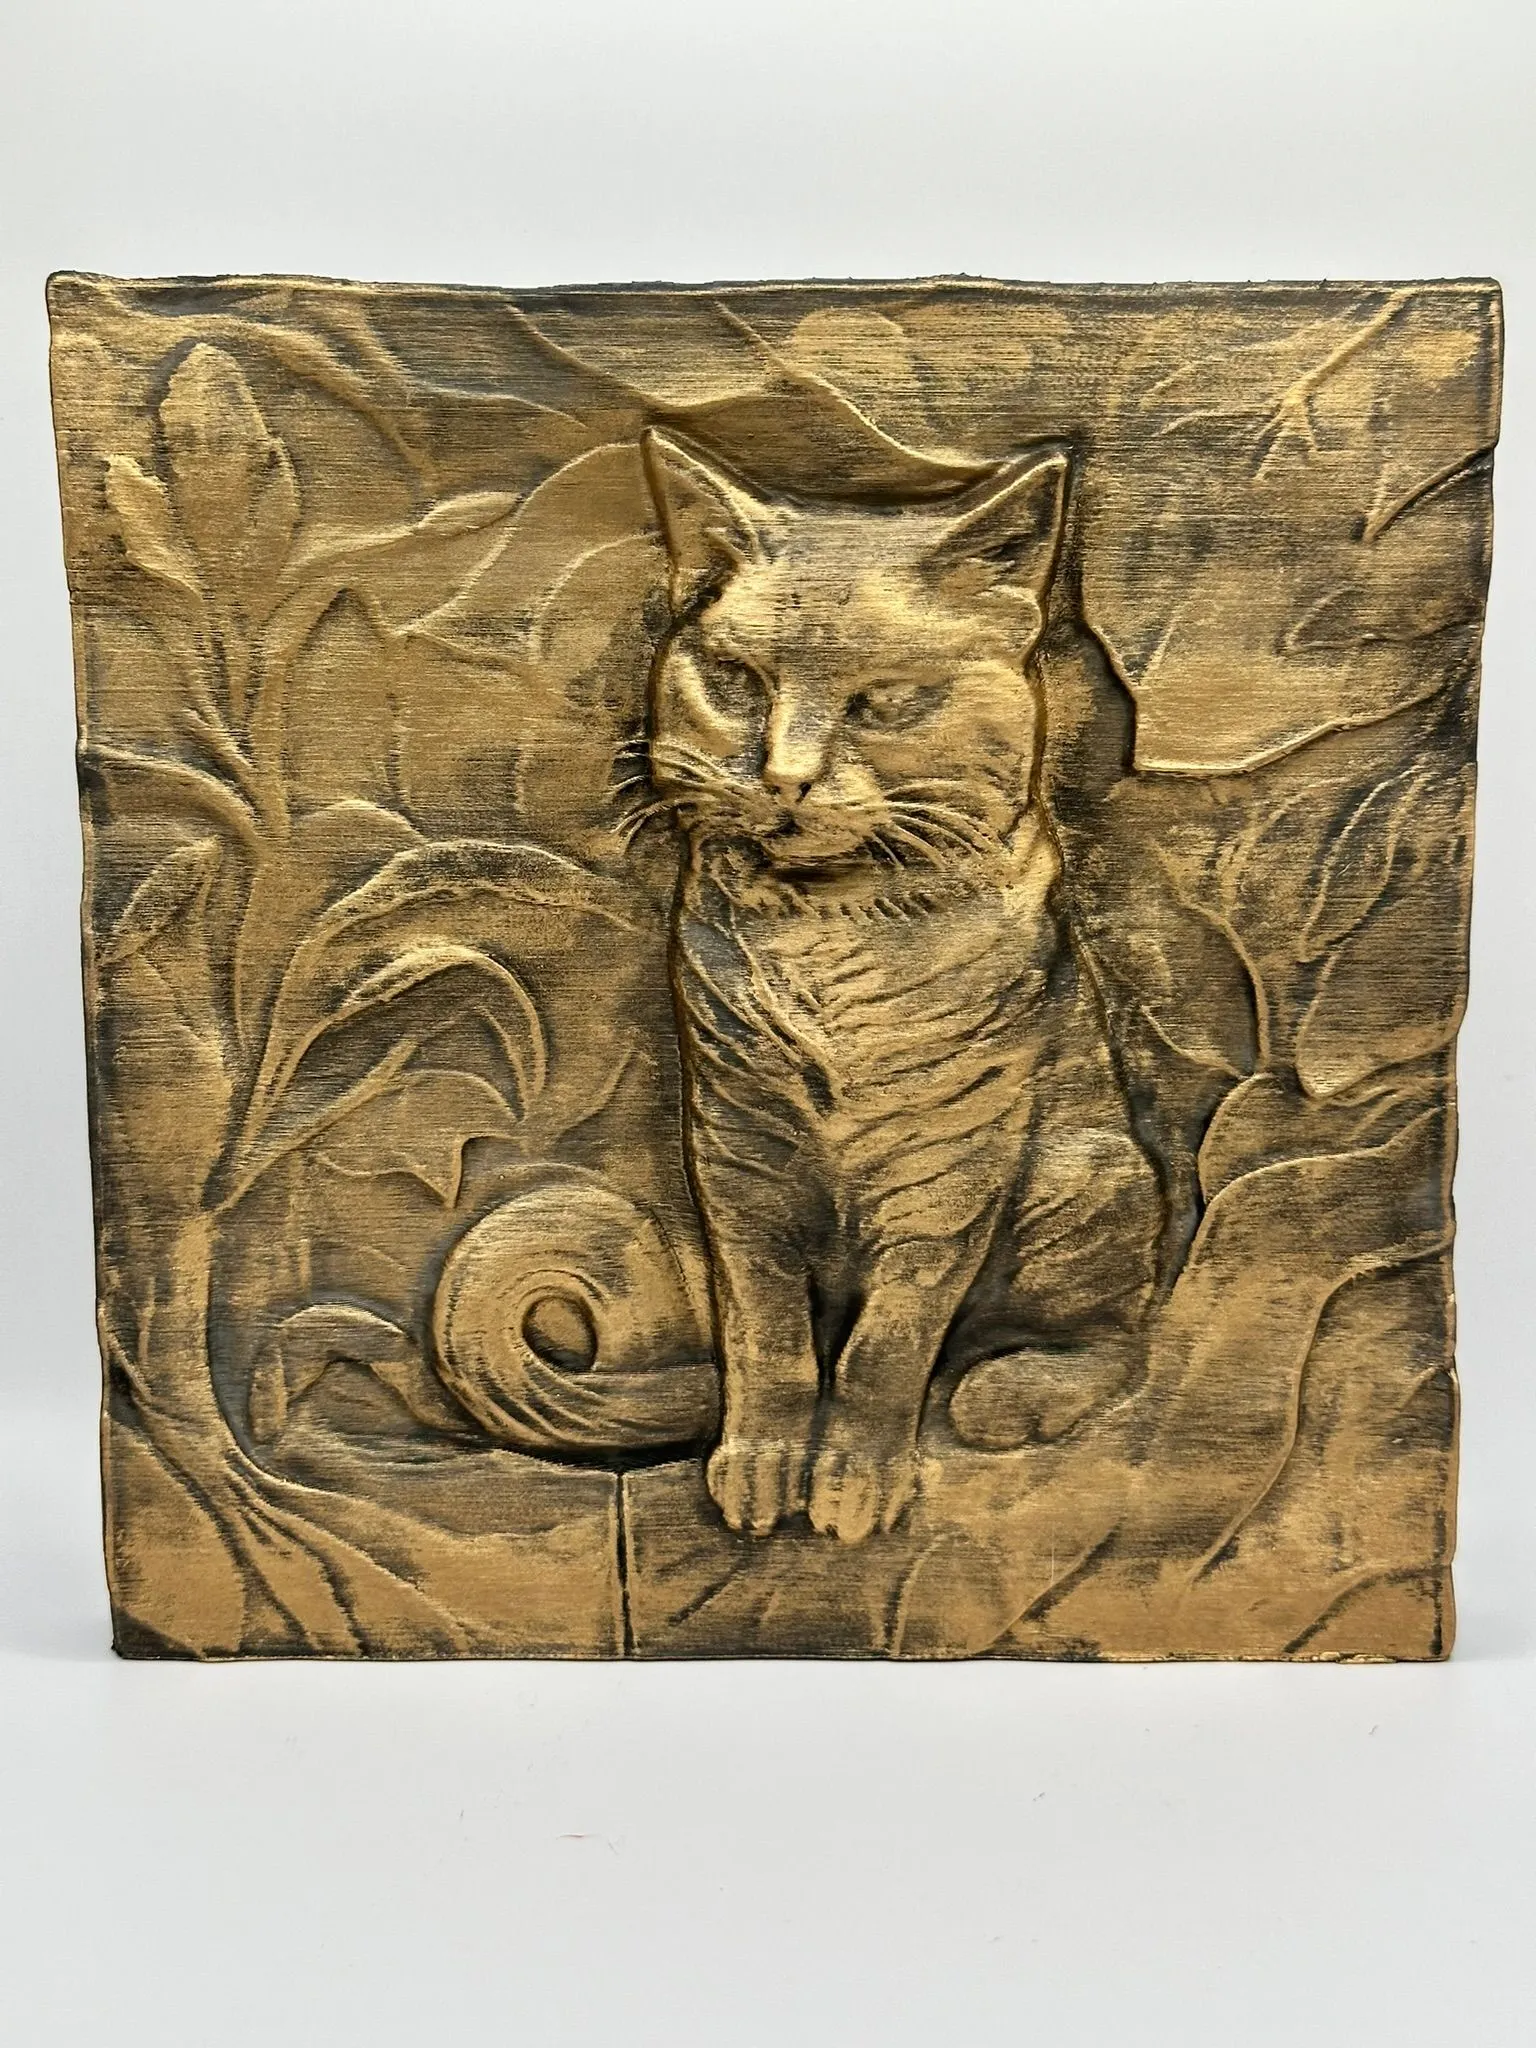
After that, you can do whatever you want with your model. If you’re like me, you can put the designs on coins and print them in resin, or even just scale them up and print them vertically on an FDM printer. I did both with great results.
Finally, I will share the riskiest bas relief I created. Nude models are nothing new to the 3D printing community; I can remember my brother objectifying women (pun intended) with his 3D printer as long as ten years ago now, before I even got into the hobby. Regardless, I think it is at the very least a little bit tasteful. Art is subjective.
Also, this is also a great excuse to test the newest feature of my website: blurred images! I’m not a wizard in web development (or development of any kind for that matter) but I’m trying to learn Svelte by building this site.
With that being said, click on the blurred image as long as you are okay with adult imagery.
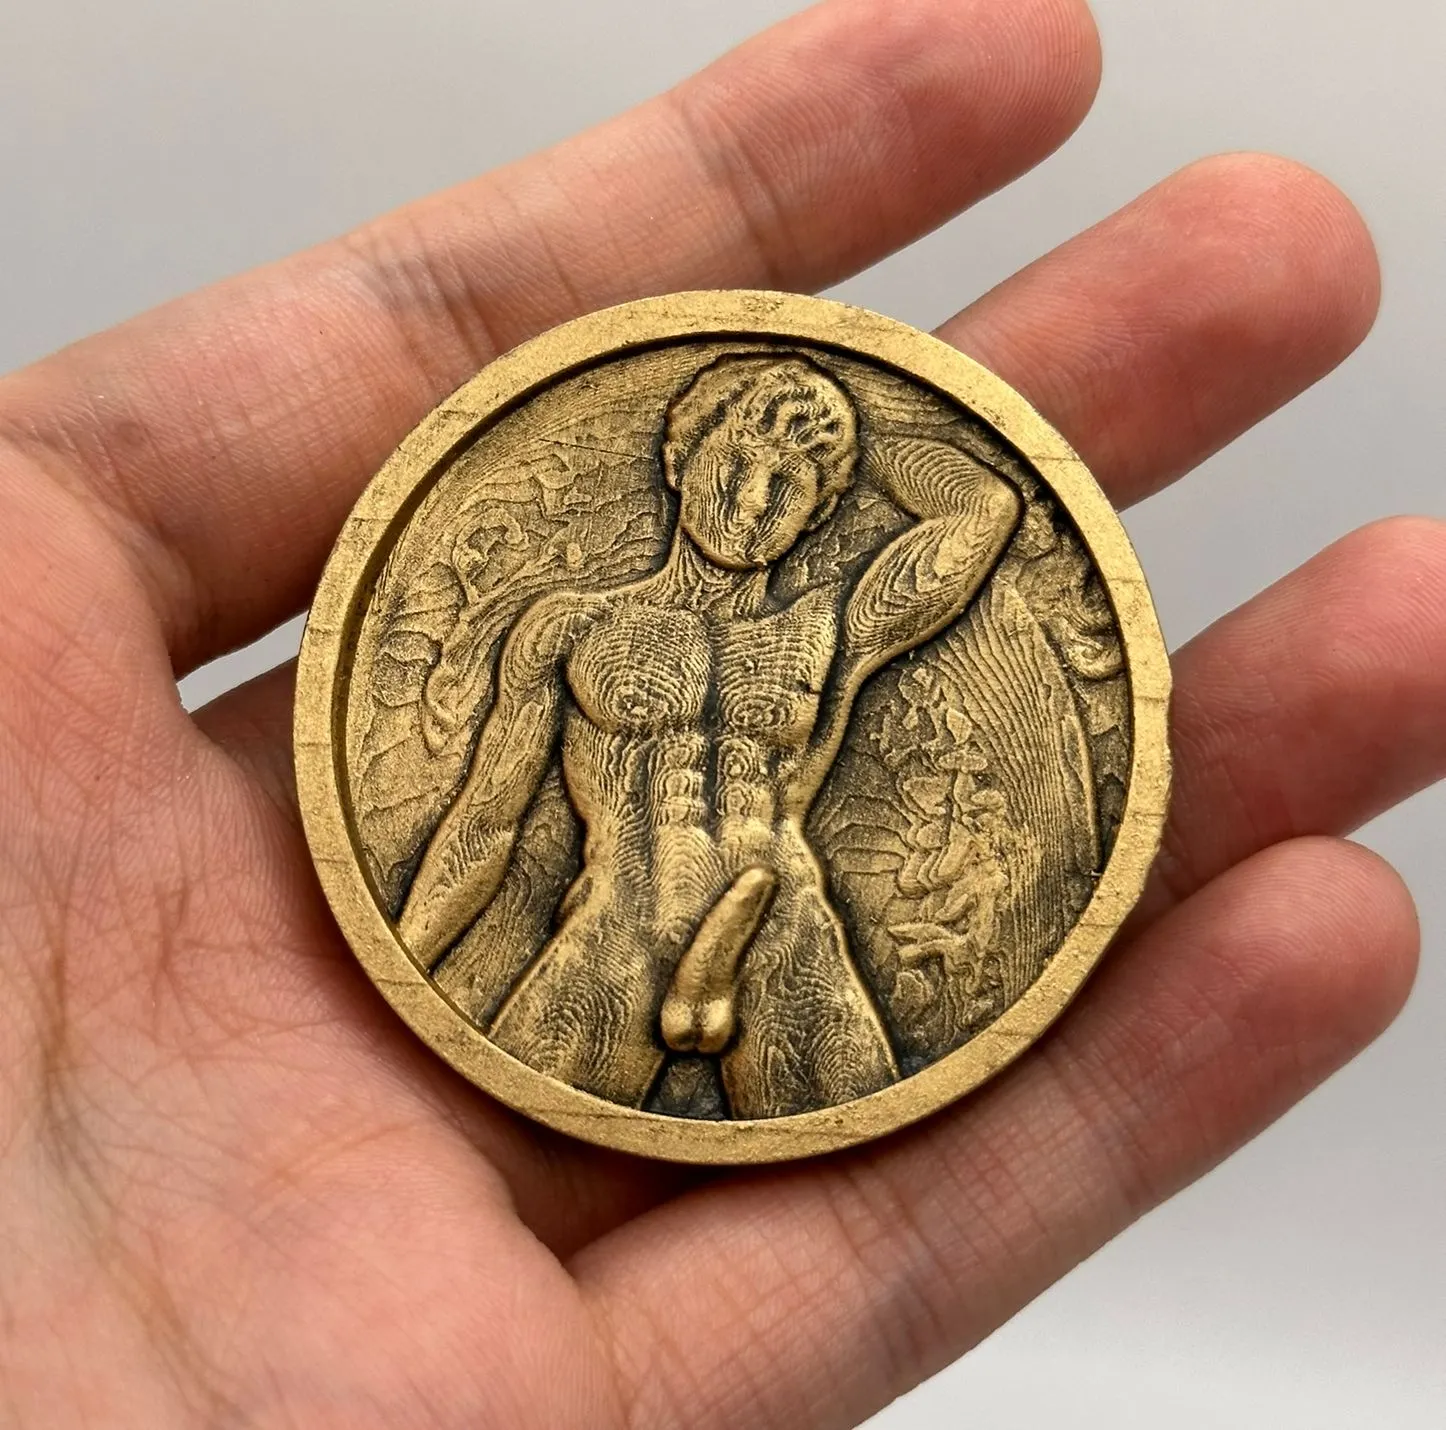
Fun fact: Nobody would care if I had made a cameo of a woman, but apparently some people are afraid of the male form.