Ever since AI image generators made their way onto the web, I’ve wanted to be able to insert myself into to the amazingly lifelike and artistic images they produce. I tried the Lensa app, which was neat, but ultimately not worth it in my opinion. I’ve also tinkered with Leonardo.Ai’s training/datasets and some simple Dreambooth Colab notebooks, but those were both using Stable Diffusion 1.5, which is not the latest and greatest open source model. With SDXL 1.0 coming out, I decided to once again try to create images of myself using the magic of AI.
In case you’re new to the world of Stable Diffusion, here’s a quick analogy to explain it:
Think of Stable Diffusion as a highly skilled artist trained to draw in a specific style. Now, suppose you want this artist to try a different style. Instead of retraining the artist from scratch, you bring in a small guidebook (LoRA) that contains tips and techniques for adapting to the new style. By following the guidebook, the artist can quickly learn to draw in a new style while retaining their original training. In technical terms, LoRA provides a way to fine-tune the existing skills of the Stable Diffusion model to perform new tasks or adopt new styles without a full retraining, saving both time and resources.
Hopefully that clears some things up.
💡 Note: All images were carefully cherry-picked by me. I easily made hundreds of photo variations with the same and varied prompt, seed, LoRA strength, aspect ratio, etc.
🤡 Versions 1-3
I’m going to quickly gloss over versions one through three because a lot has happened since then and I honestly don’t remember much about them (except that they were so bad). The first three versions of my LoRA were created using cloud computing services. For the first one, I tried using a super simple HuggingFace space and cropped smartphone images I found in my camera roll. While this method was by far the easiest, user error rendered the results quite useless (and nightmare inducing). For the other two, I used a Google Colab notebook called “AutoTrain Dreambooth” I found with a quick Google search. I also wasted $10 on compute units thinking it would save time, but that assumption was quickly cleared up as false.
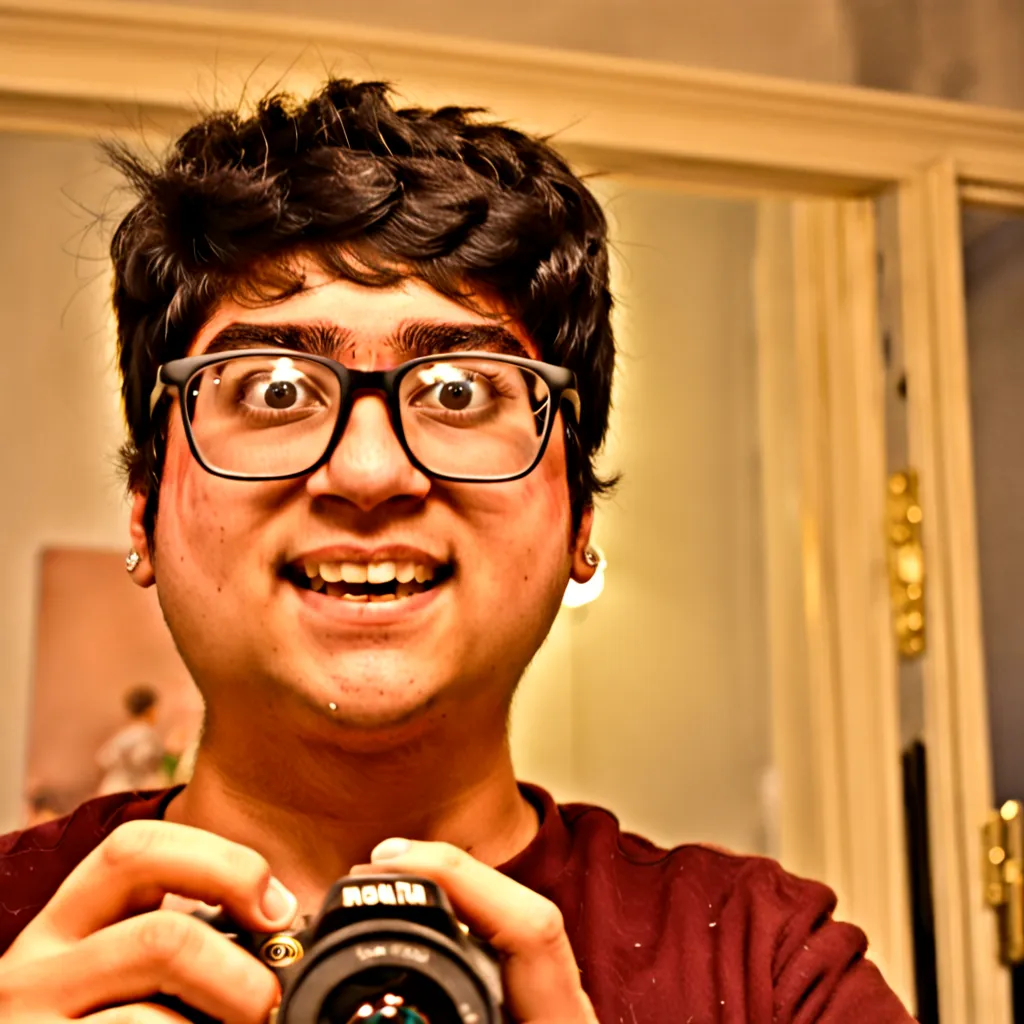
Version 3 was the last version I made using the Colab notebook. The images look quite a bit like me but are also a bit… deep fried. I don’t know exactly how to describe it, but the colors look off and it’s overall very creepy.
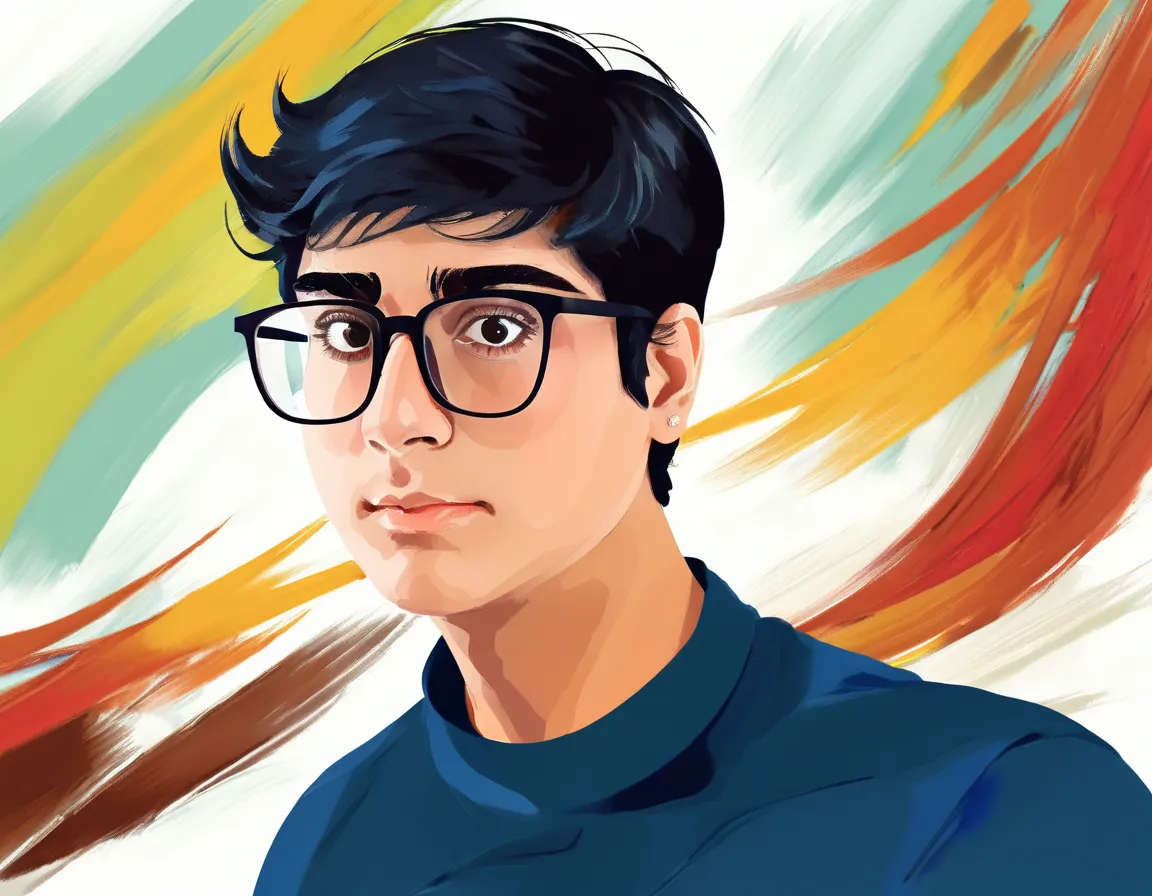
📈 Version 4
I had been using ComfyUI up until this point because I didn’t know you could disable the refiner in Fooocus (which is so much nicer to use for beginners). Once I figured that out, Fooocus produced results with much better realism and colors. The reason I had to disable the refiner was because it consistently tried to make all faces look “generic” (or like a Chad for lack of a better term) as soon as it got to the refining step. Turning down the denoise strength on the refiner is not possible in Fooocus to my knowledge, so the refiner was completely out of the question.
This was when I switched from using cloud computing services to using my own hardware. All training from now on is done on my PLEX server (RTX 3090, 24 GB) and image generations were done on my main PC (RTX 4070, 12 GB).
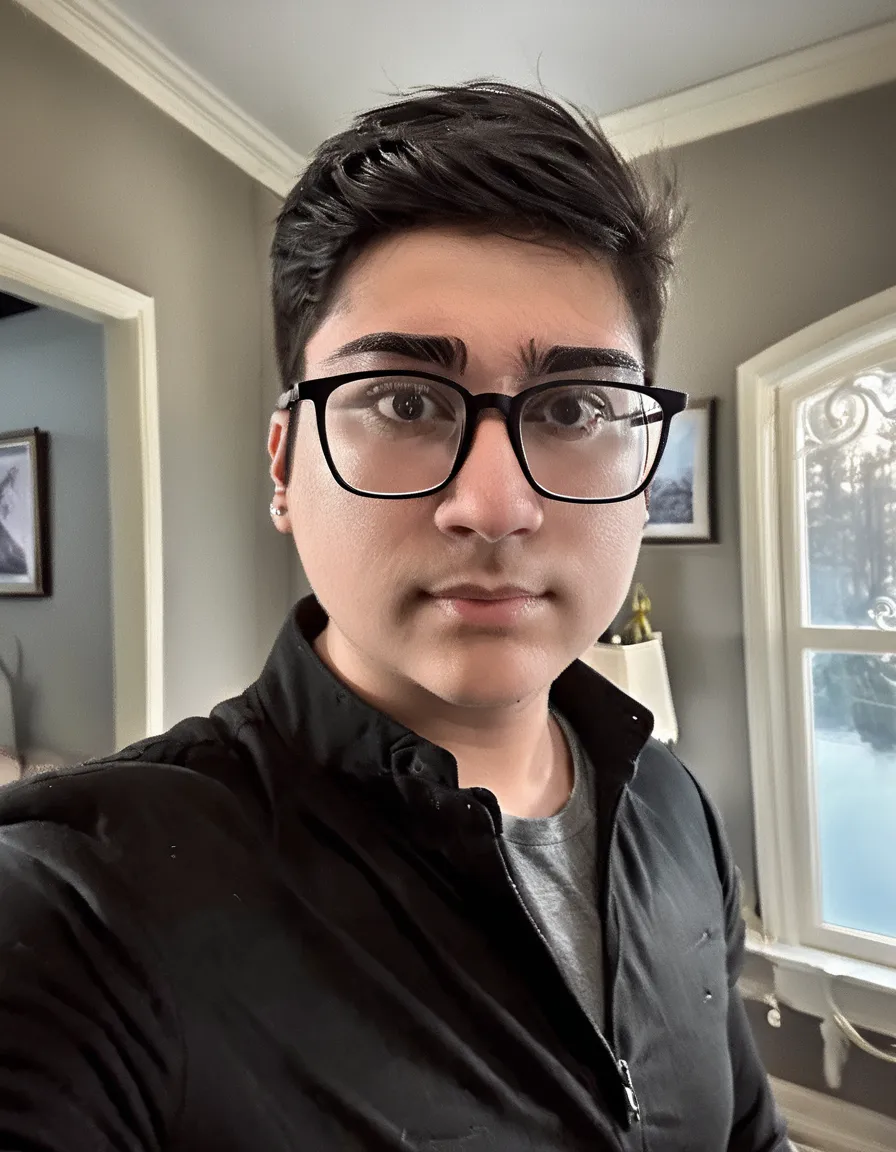
📸 Version 5
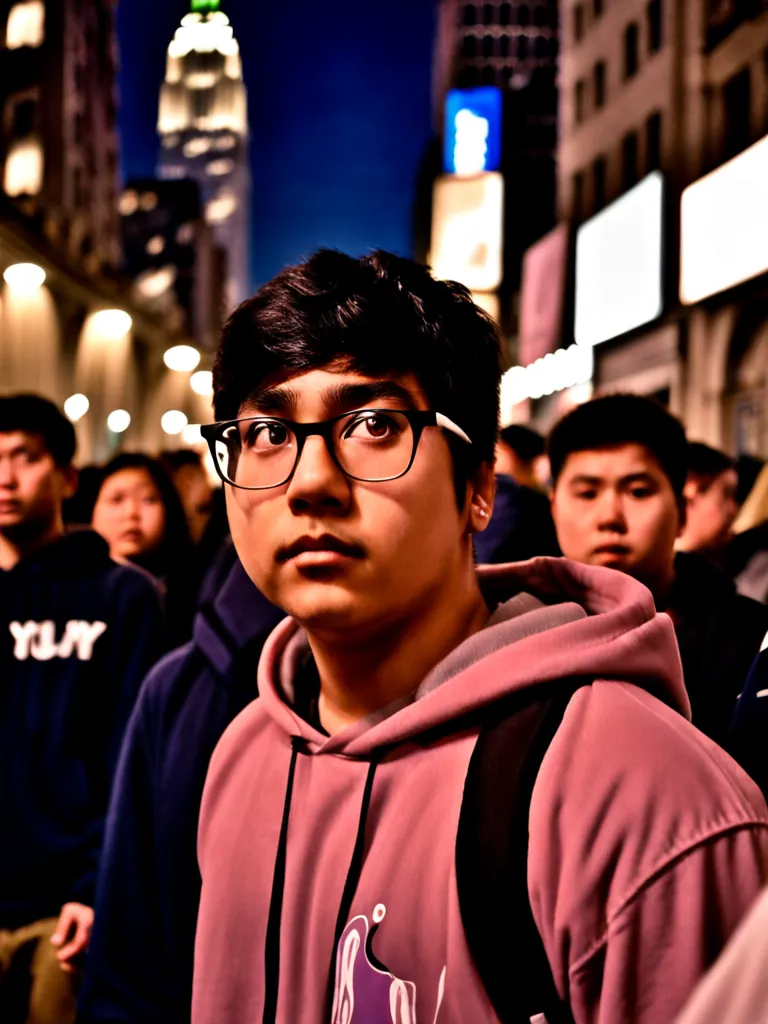
This version uses the keyword “Kunal Nayyar” and also makes use of 1000 high quality regularization images for the keyword “man” as well as automated captioning of the images. The images look much better, but the training time and file size increased dramatically.

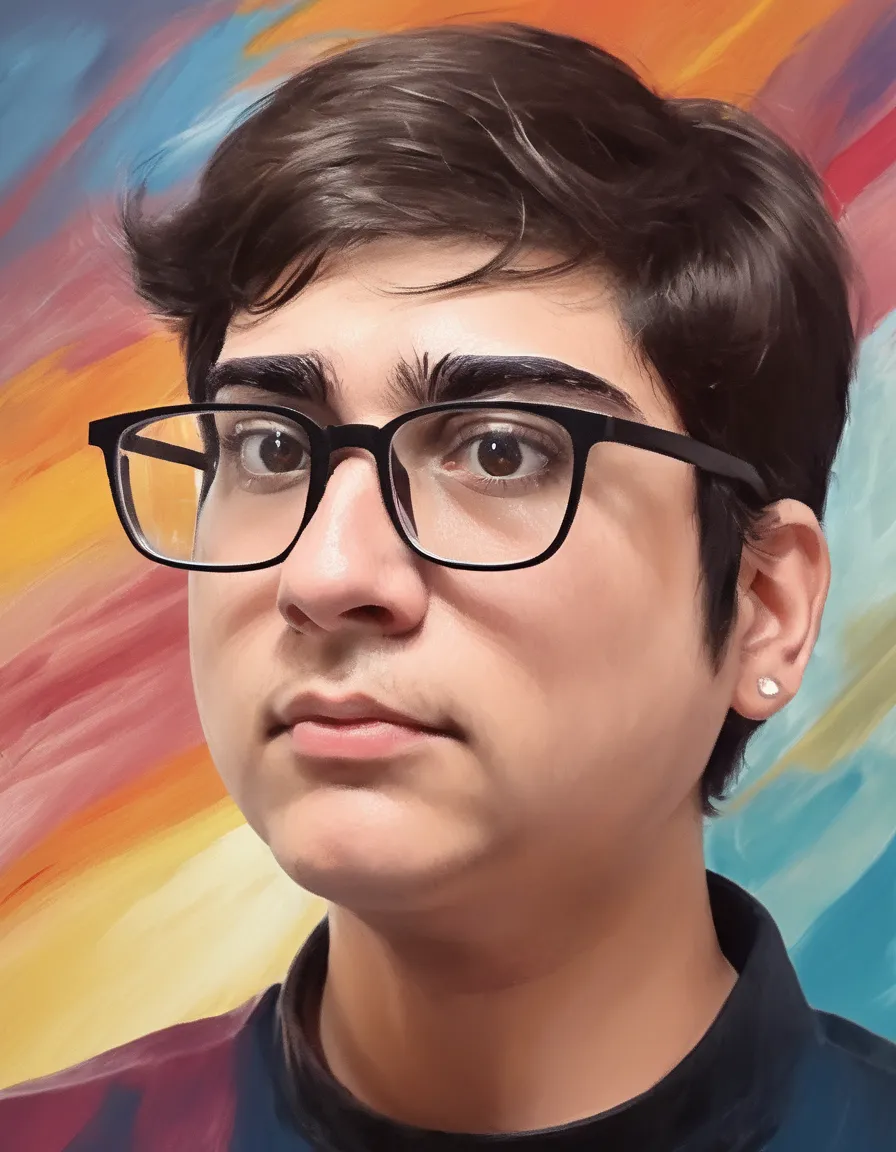
😍 Version 6
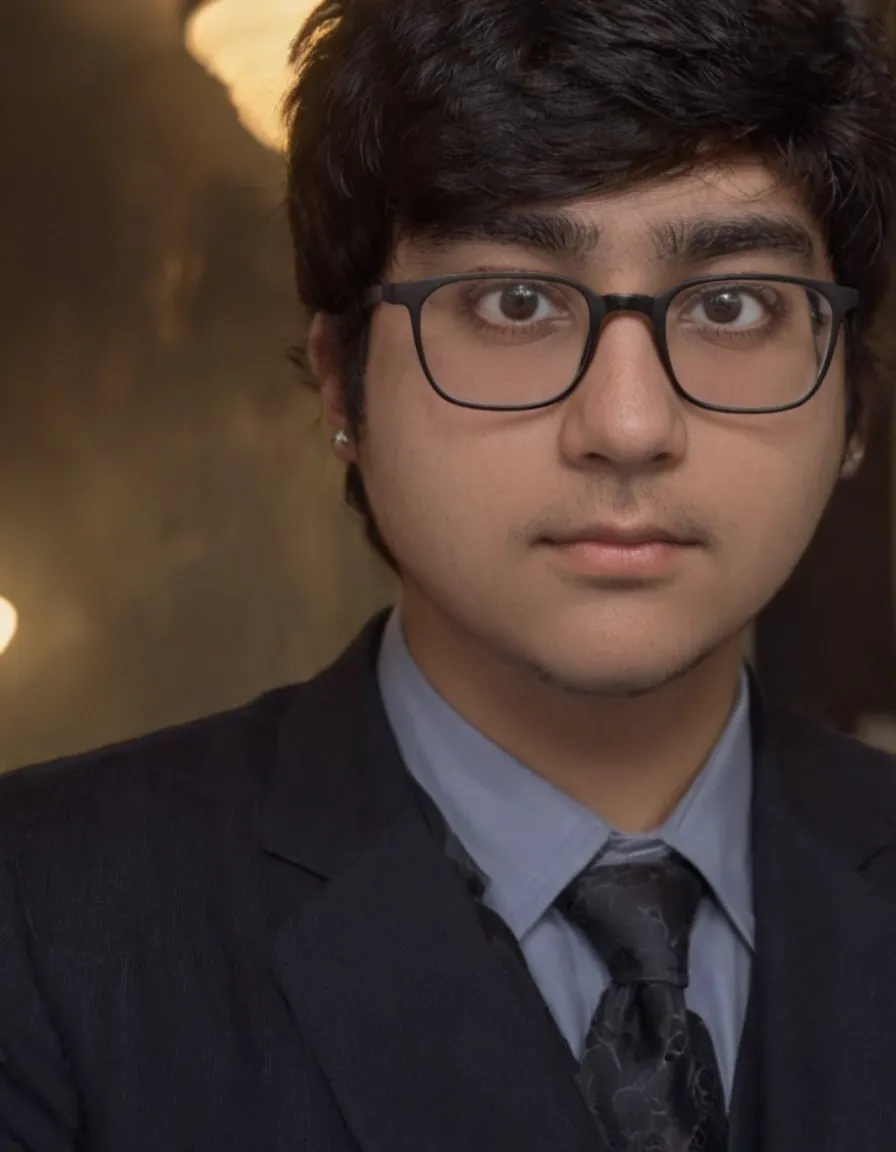
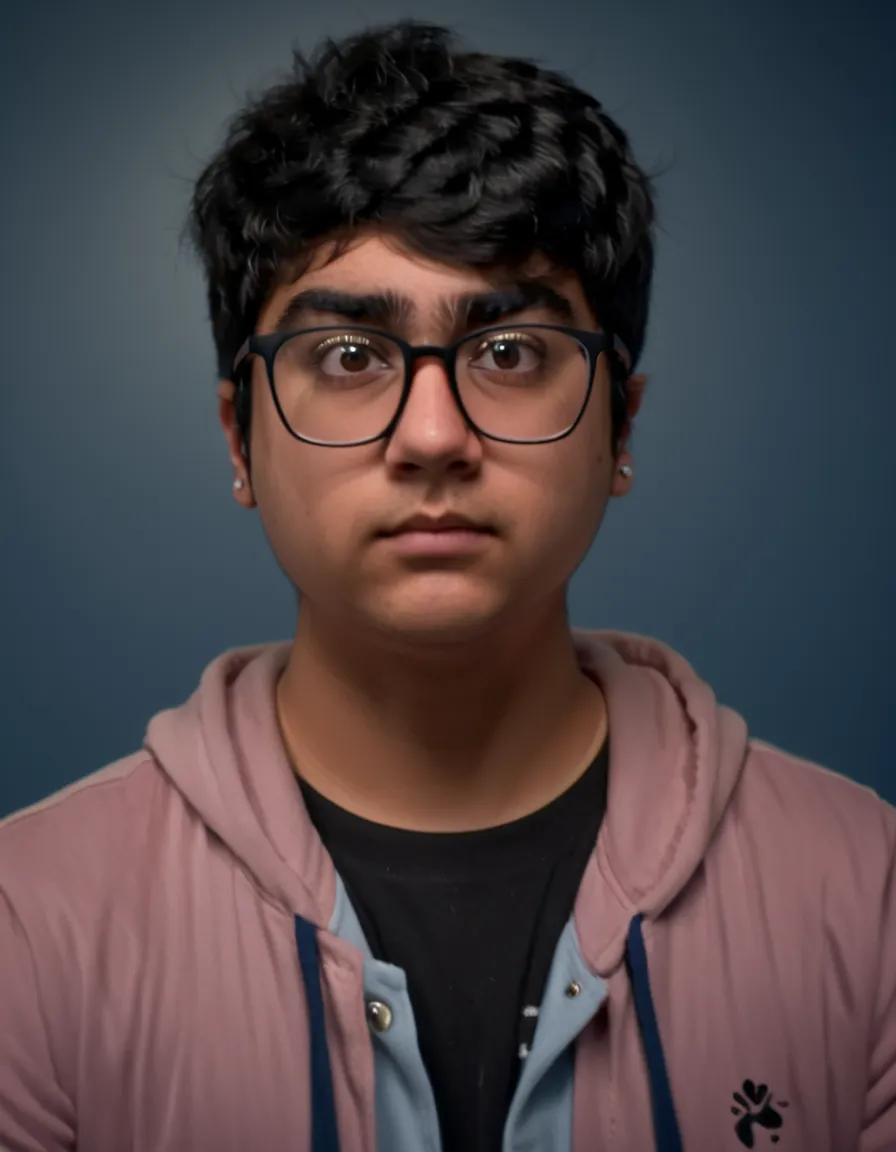
This version uses the keyword “Daniel Radcliffe” and is best for headshots (pun intended). At this point, the returns of further refinement seem to be minimal based on my testing. Despite the fact that these images can be classified as AI-generated by a trusted, unsuspecting human judge, I think they could pass as photos. However, this may be my own personal bias at play toward photos that make me look better and not necessarily more “like me”.
📉 Version 7
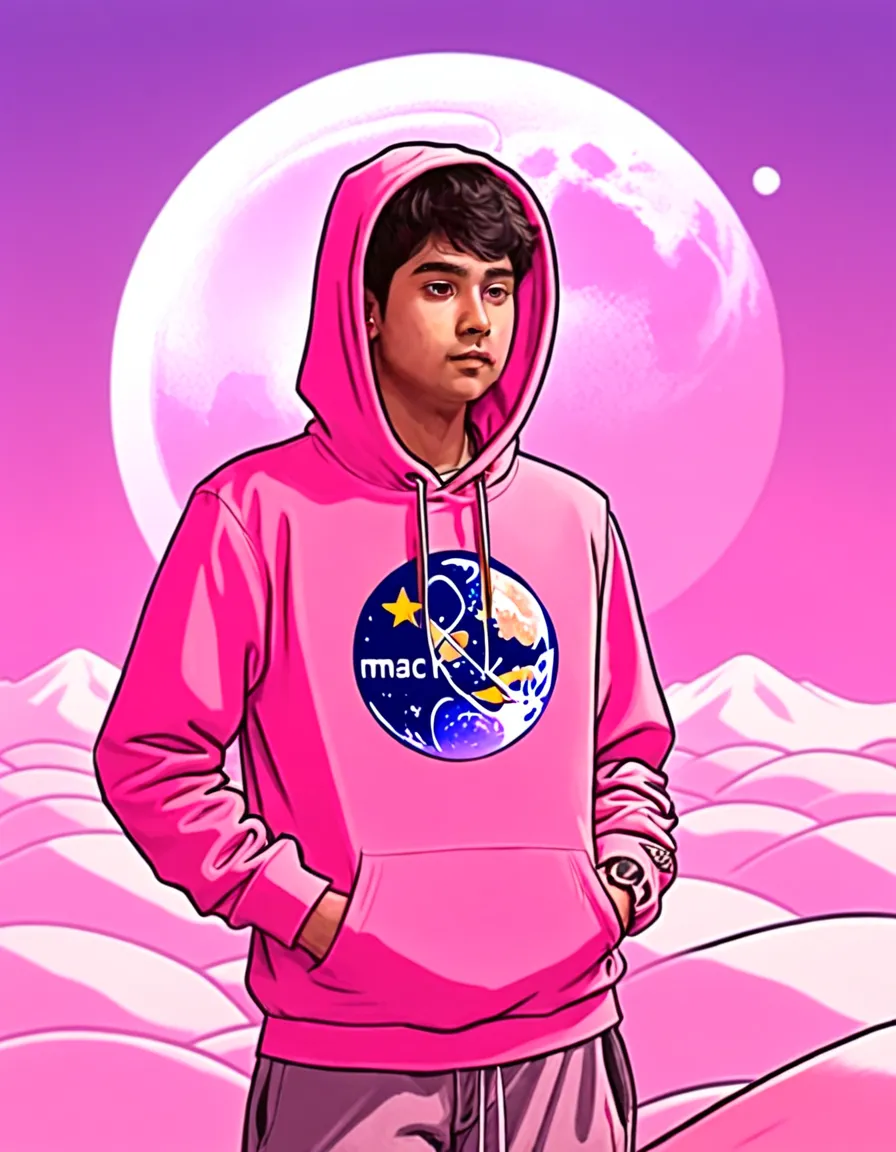
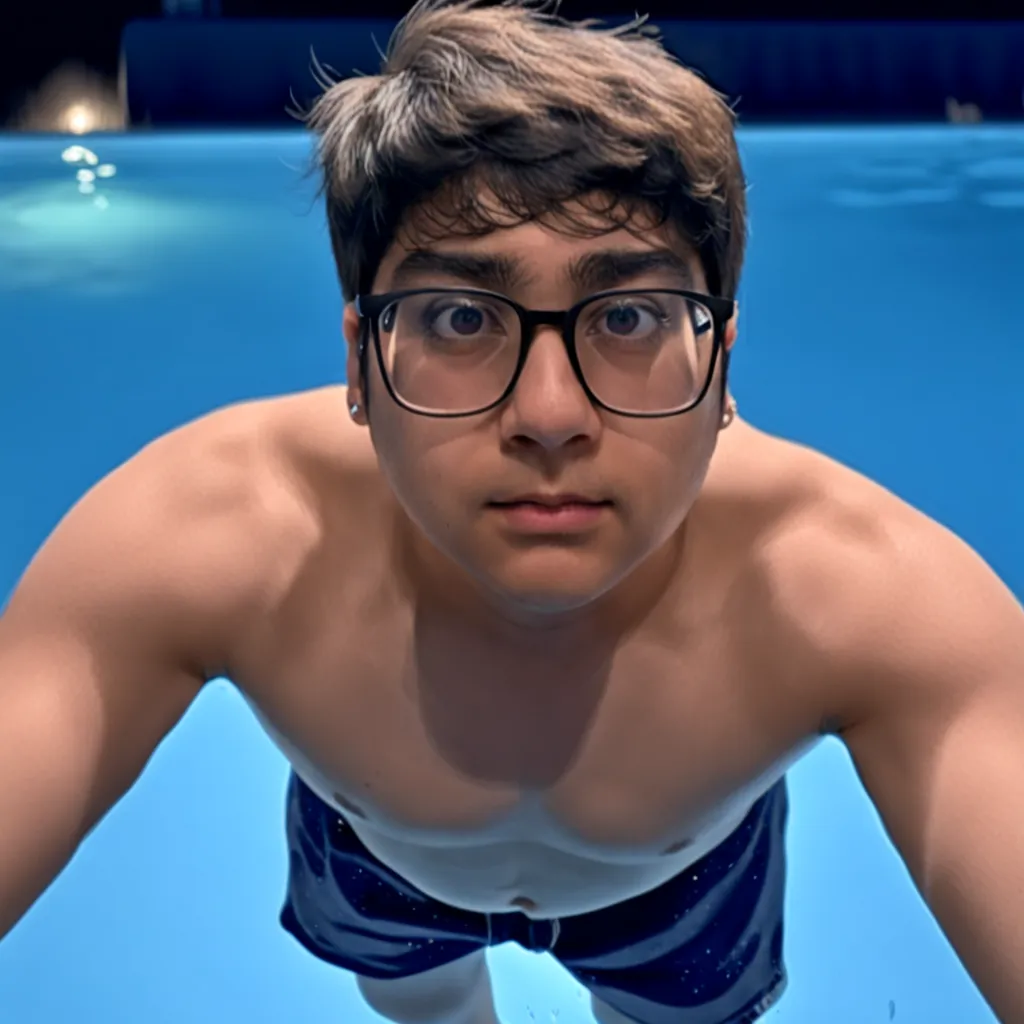
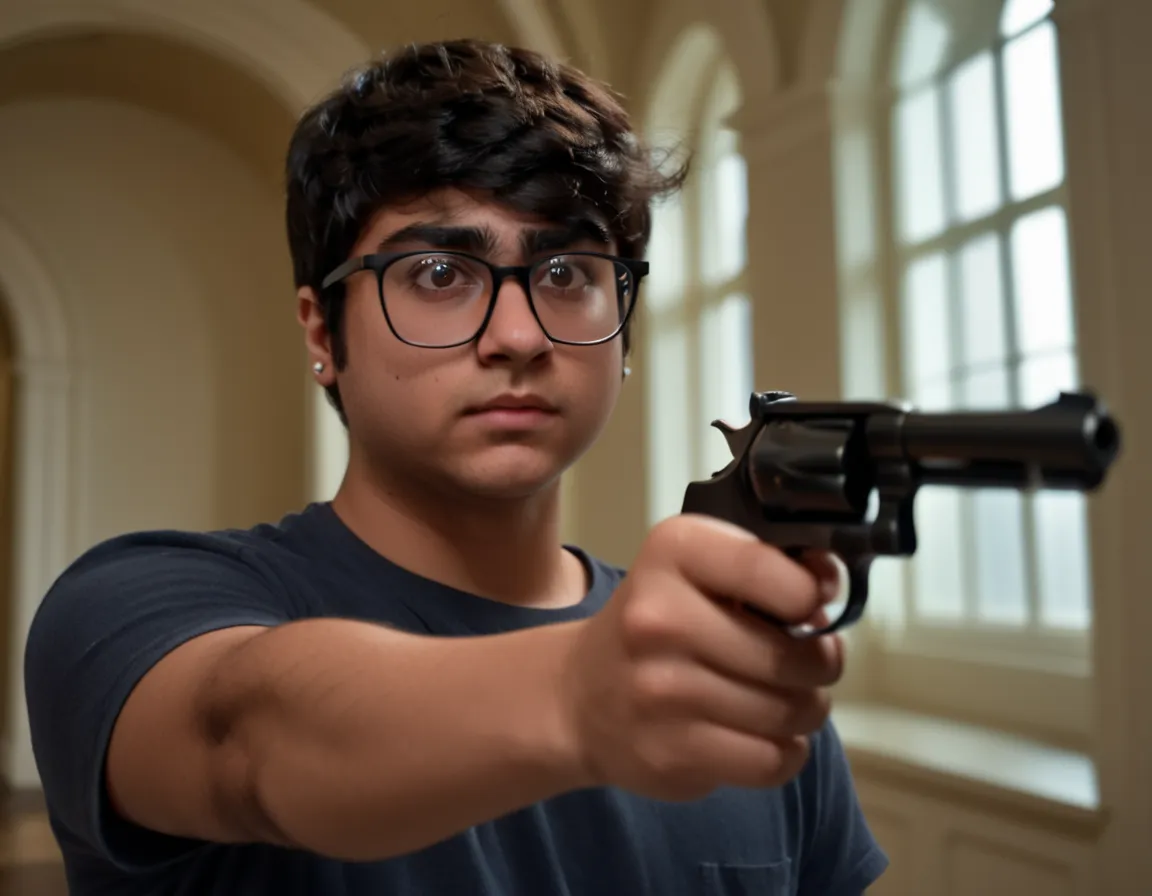
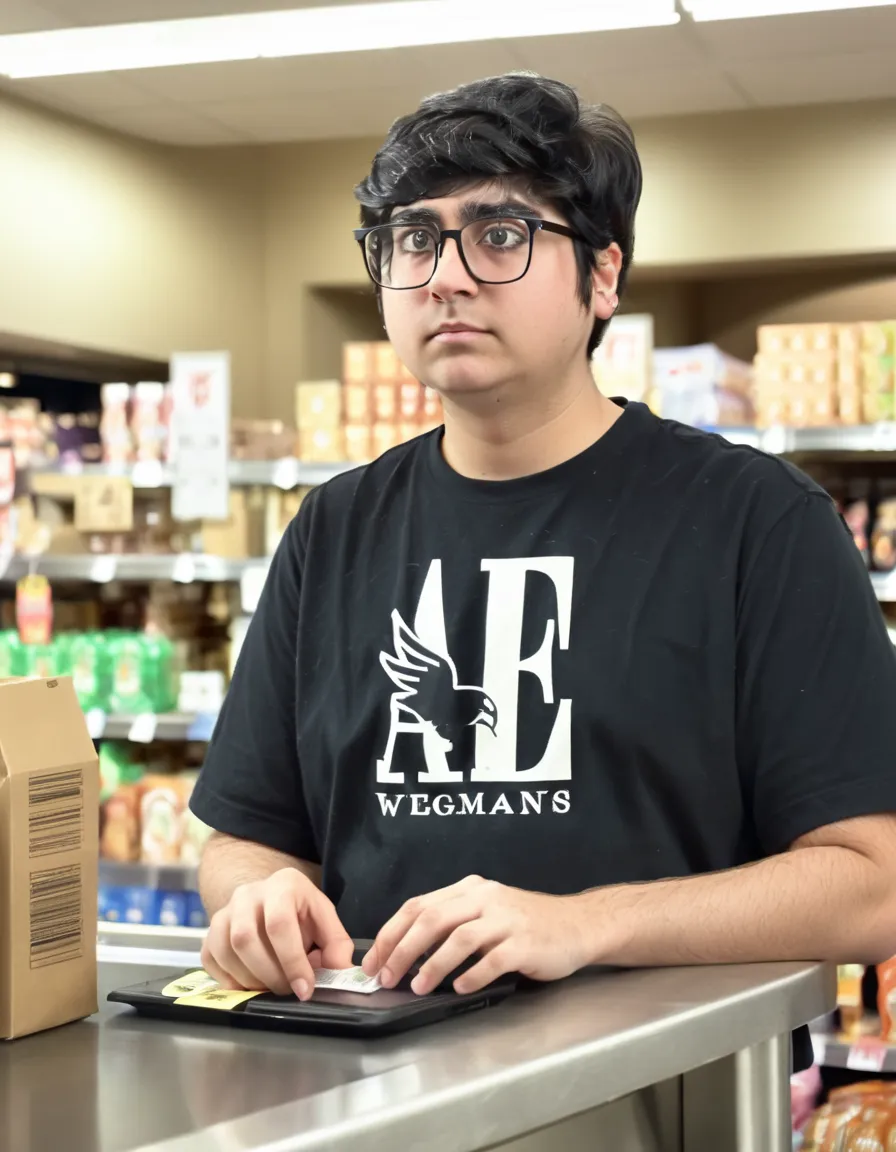
This version also uses the keyword “Daniel Radcliffe” and includes some additional full-body photos in hopes of making the body proportions more realistic in the resultant images. Since many of the photos were taken while I was wearing a graphic t-shirt, the graphic appears in almost every image where the LoRA is turned up enough to form my face. Even so, the quality of the face is significantly degraded, with ghost refraction artifacts in the glasses and the addition of a cleft chin. The face and eyes specifically are consistently deformed, especially in full-body images.


Version 8
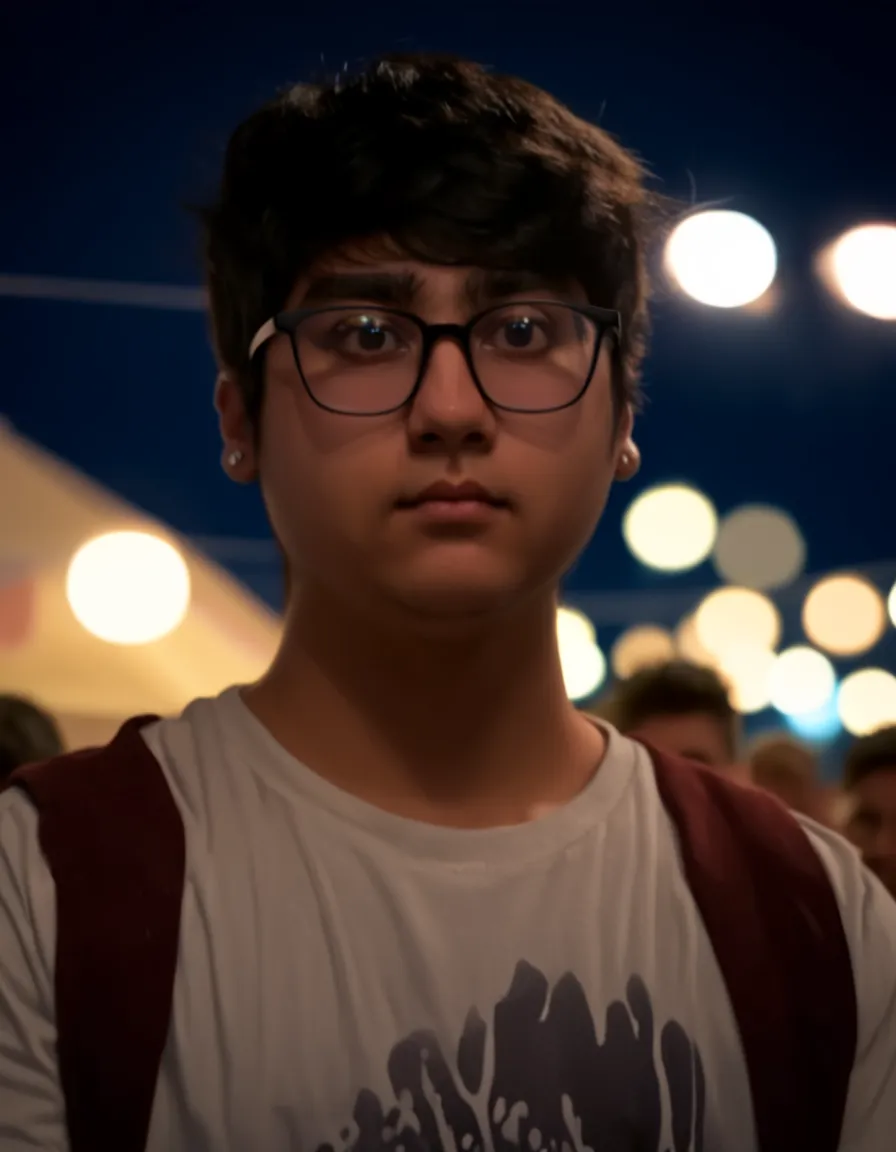
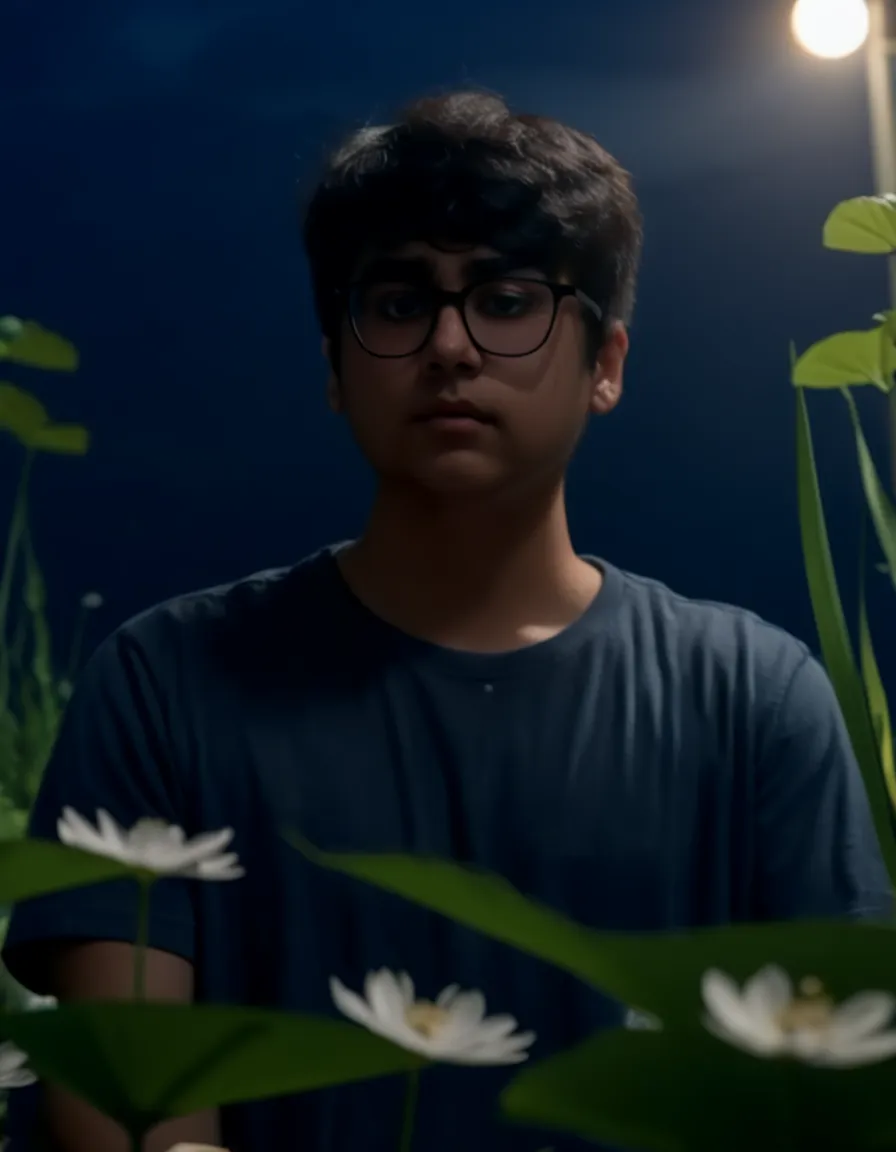
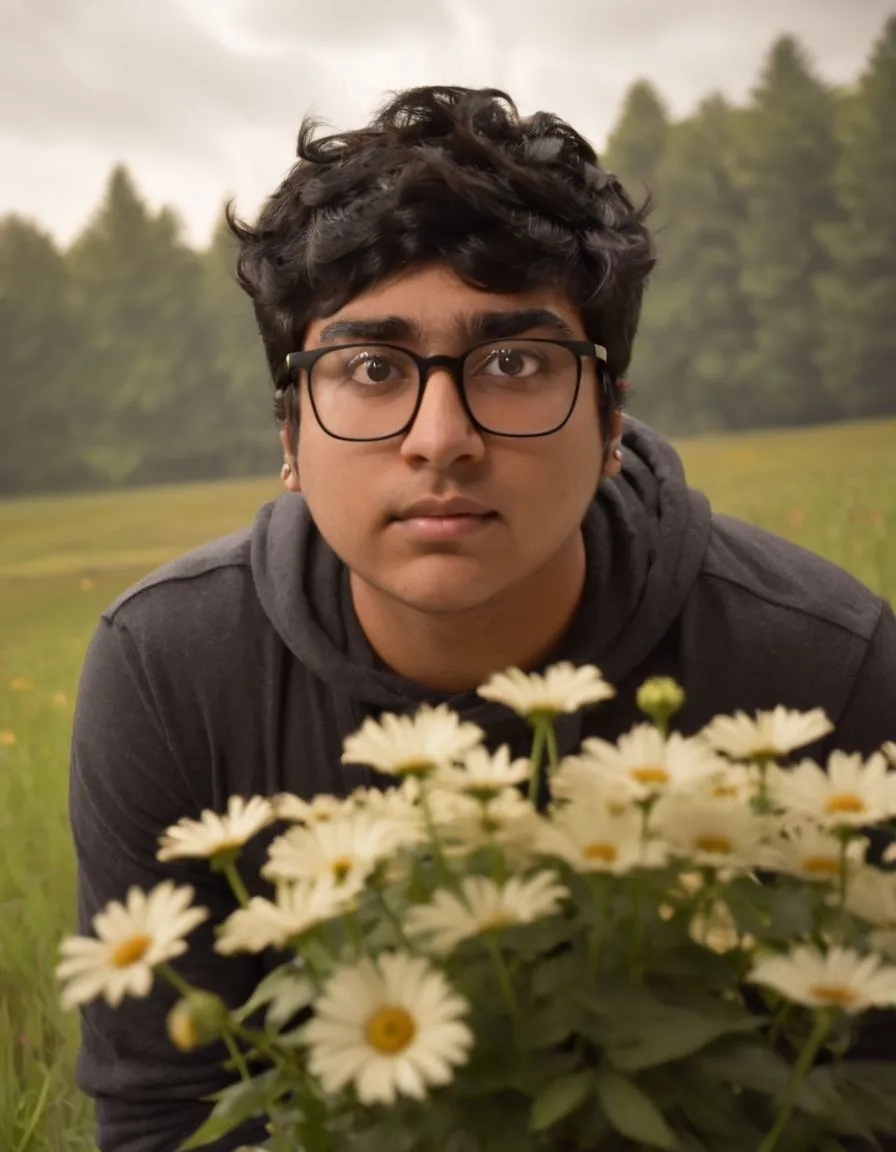
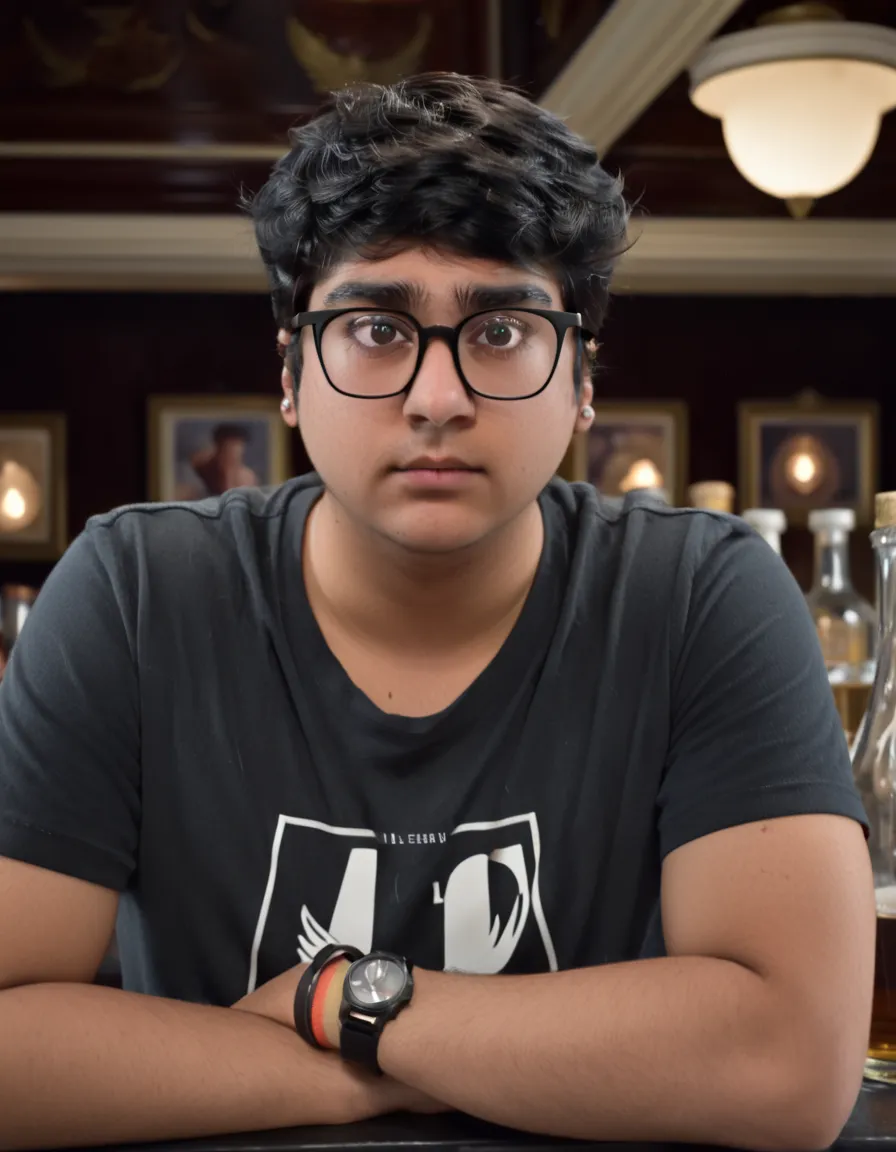
This version combines real photos with AI-generated photos from versions 5 and 6 for the training data, and is by far the largest dataset at 55 images. The results are impressive and realistic, even going as far as to capture more accurate body proportions in many images. One issue with this version is that many images also include random light fixtures in the background that are difficult to exclude with negative prompts.
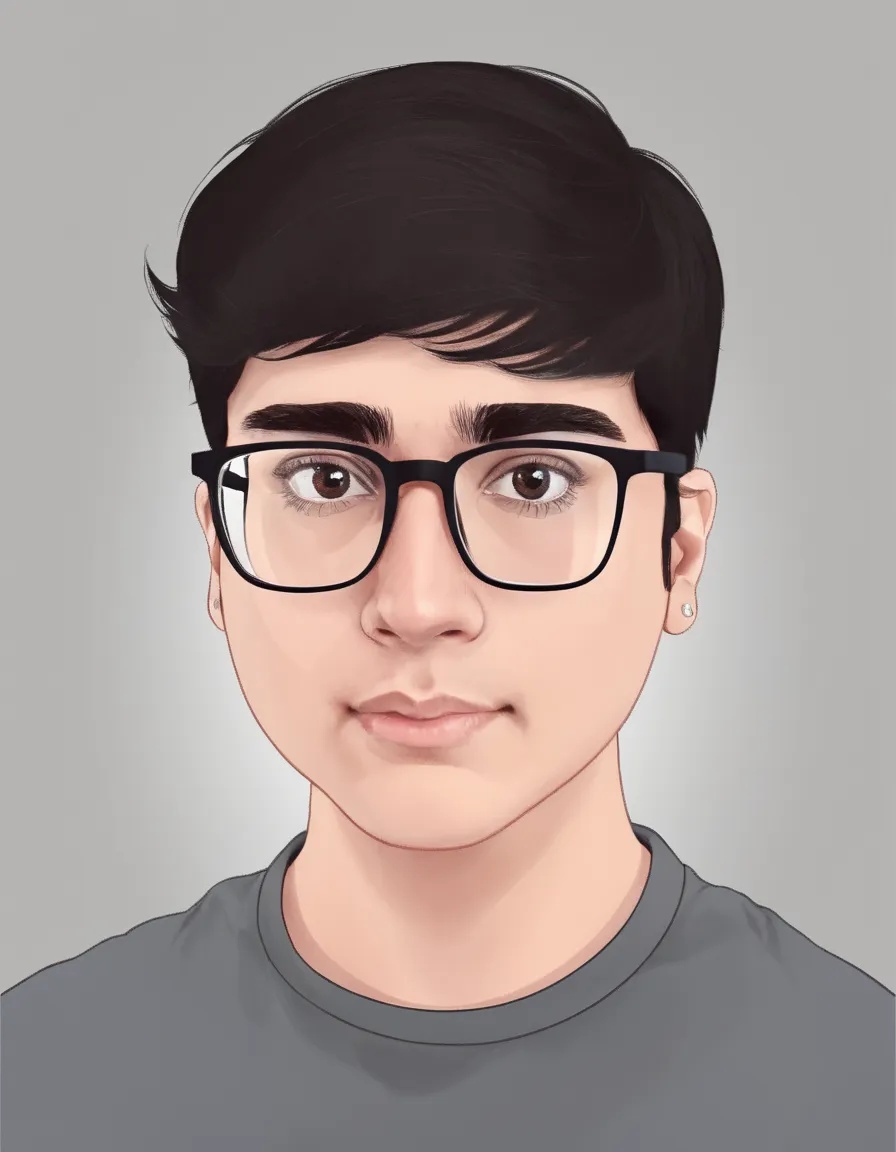
Version 9
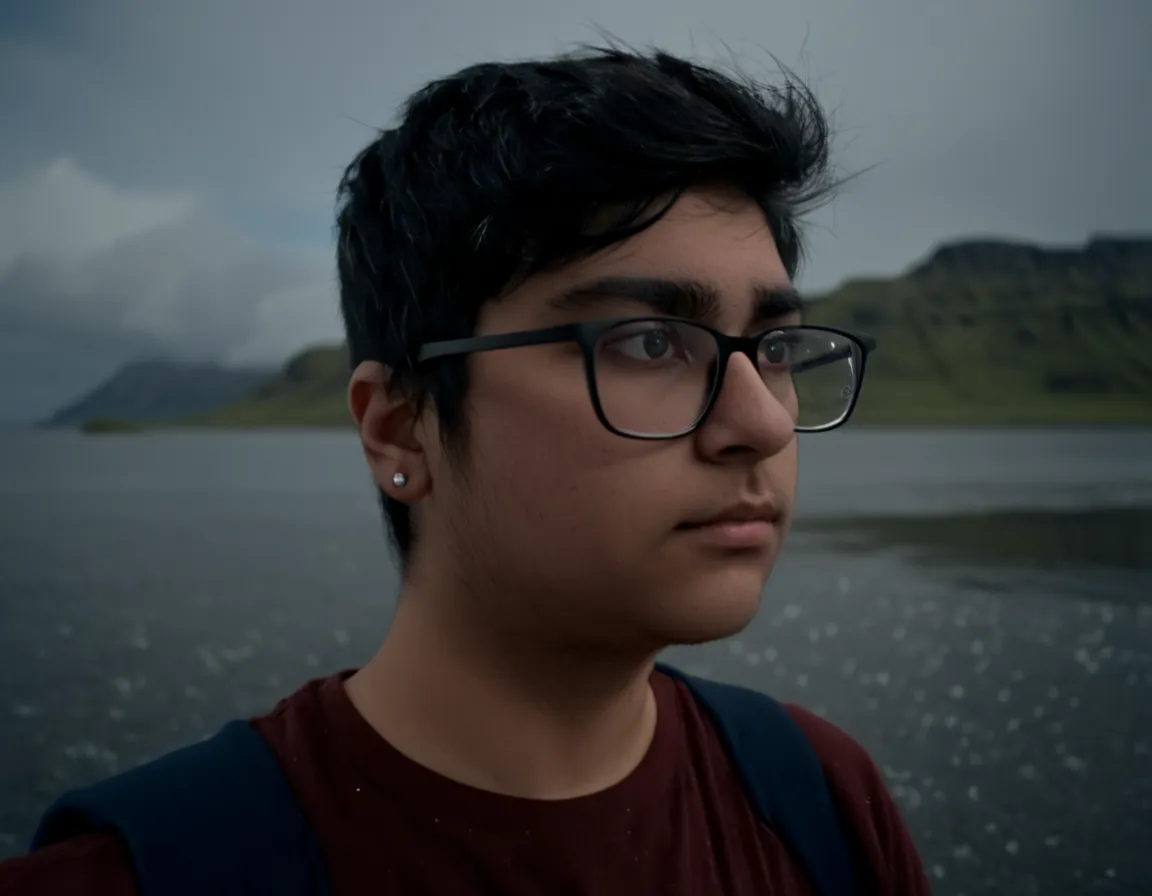
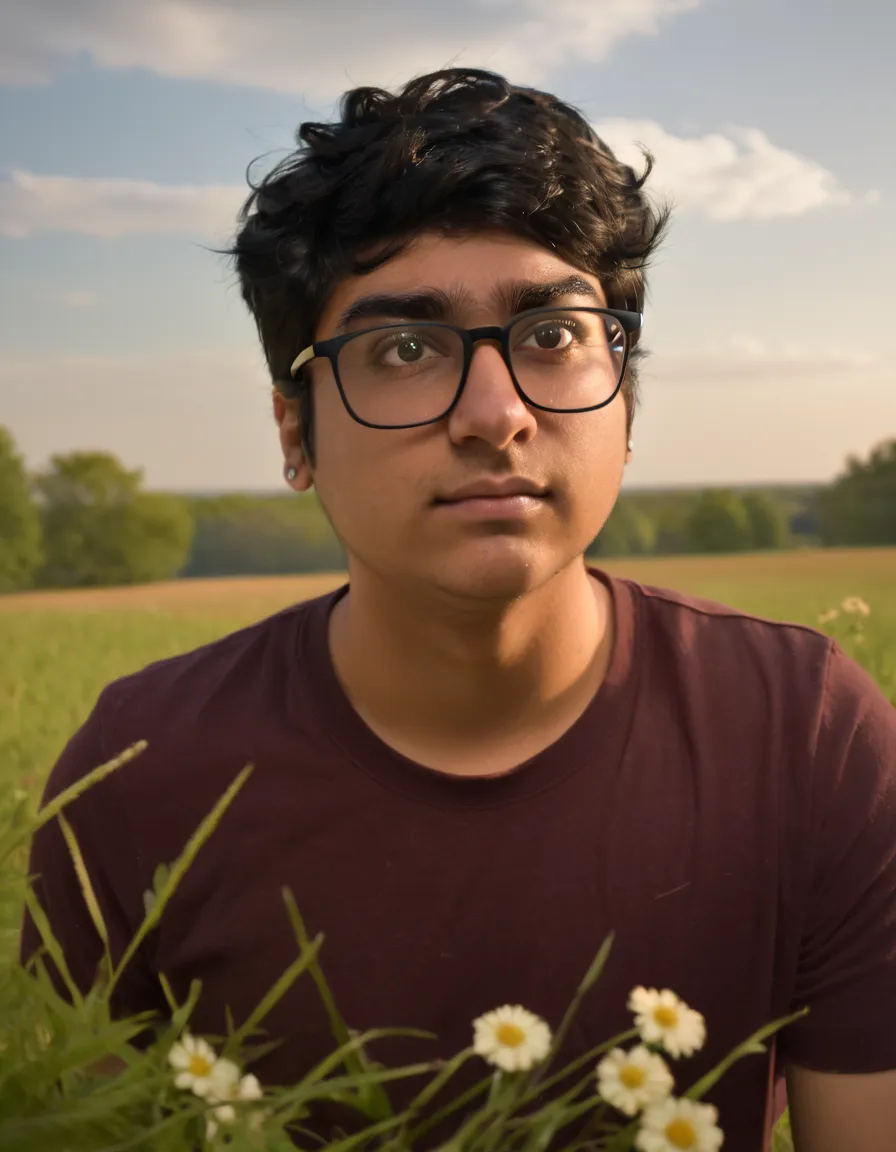
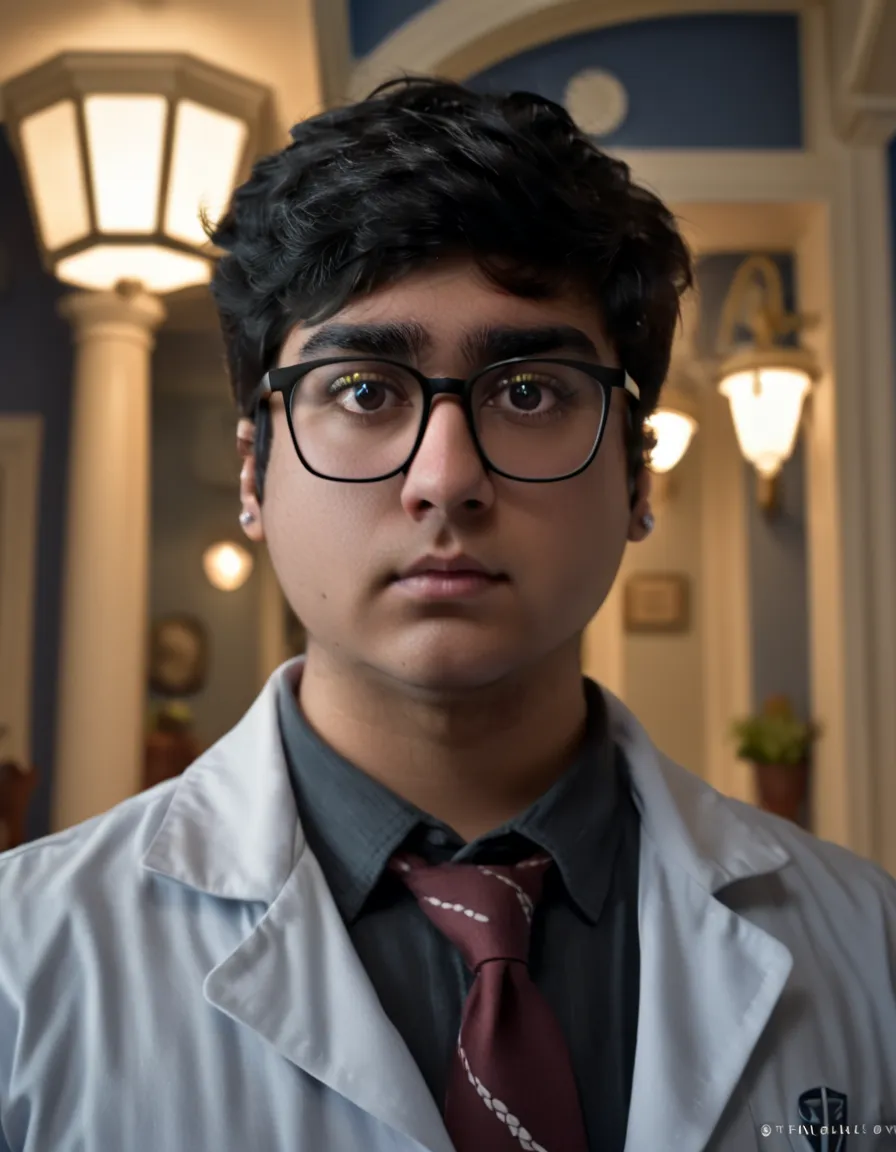
This version does not use regularization images in order to speed up the training process. Also, I got a haircut and added some photos of it with a “short hair” caption. Speaking of captions, I made sure to specify when there was a graphic on my t-shirt to hopefully avoid the LoRA putting the same shirt design in every image. This dataset had 23 images. This also only required 4600 training steps due to the lack of regularization images. The captioning in this dataset also specified whether I was wearing glasses or not so that images without glasses can also be produced, at the expense of another static keyword in every prompt.
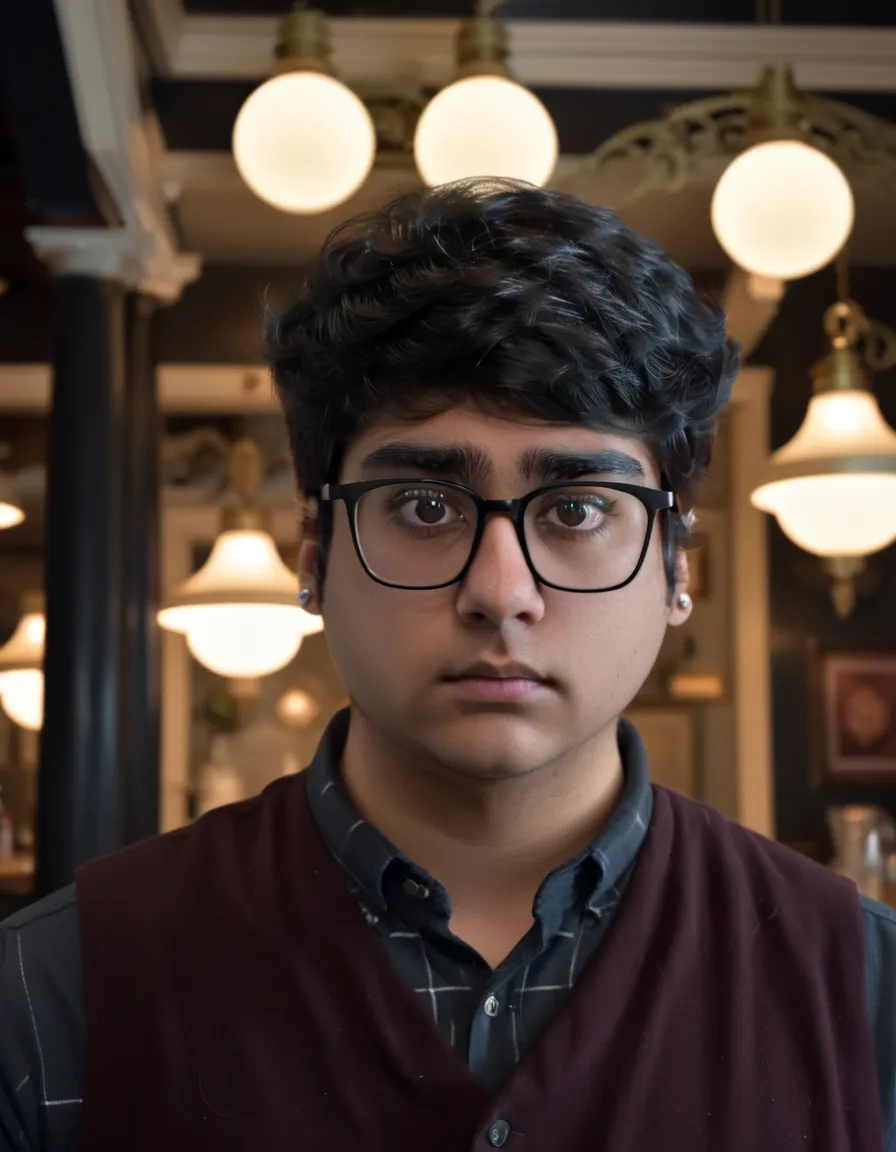
💡 Using the keyword “with short hair” produces images with (you guessed it) shorter hair, as well as more manicured eyebrows and less facial hair.